
Each feature includes a sample for you to use and play with code and scene setups. This quickstart walks you through importing the Android XR Extensions for Unity package and then configuring the face tracking sample.
Prerequisites
Before completing these steps, make sure you've completed the steps described in Unity project setup.
Import packages
To load a Unity Package Manager package from a Git URL:
- In Window, open the Package Manager.
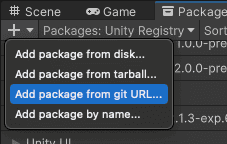
- Open the add menu in the Package Manager toolbar.
- In the options for adding packages, click the + (plus) button.
In the drop-down list, click Install package from git URL.
Enter the following URL:
https://github.com/android/android-xr-unity-package.gitSelect Install.
Configure the face tracking sample
All samples, including this one, include a README file containing instructions on how to configure and set up the project.
To import and configure the sample:
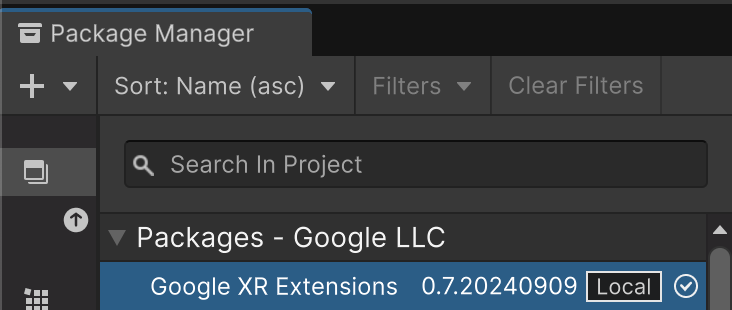
Go to Package Manager > In Project > Android XR Extensions for Unity.
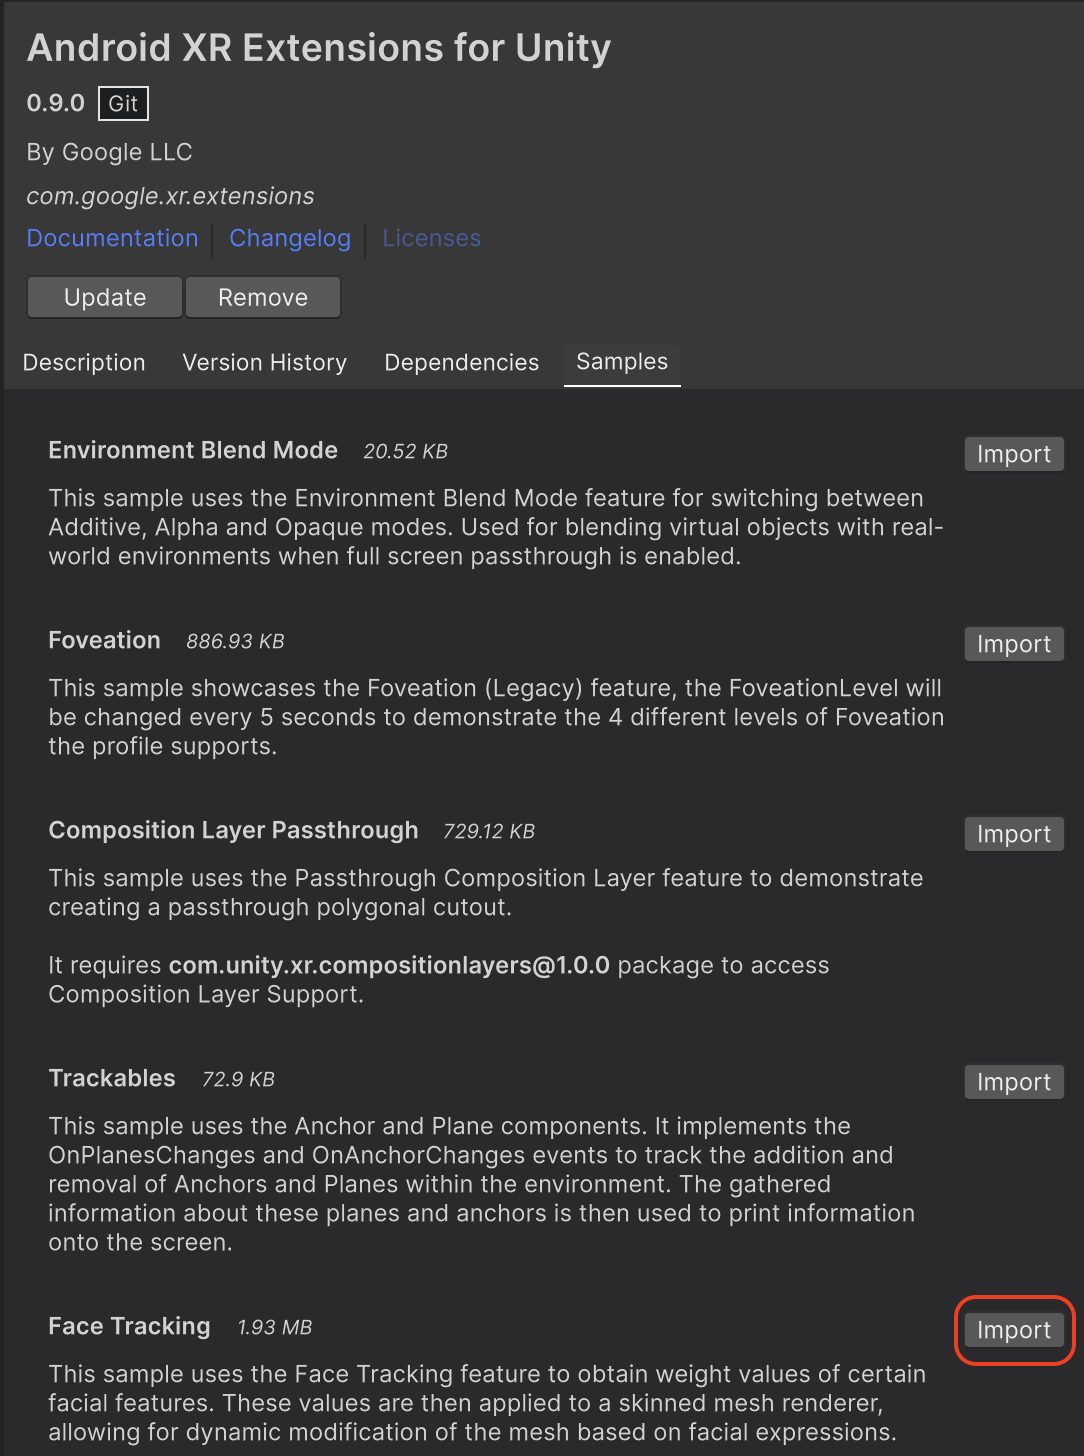
Select the Samples tab. Find the Face Tracking sample and click Import.
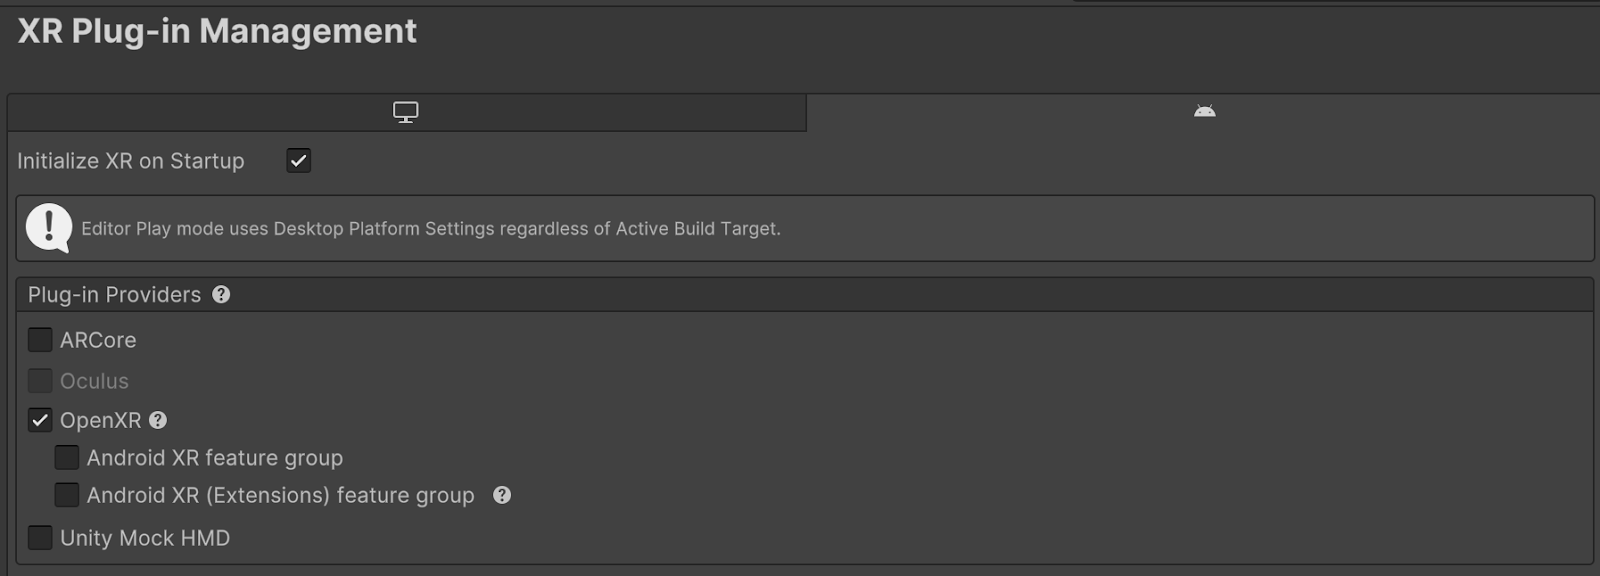
Go to Edit > Project Settings > XR Plug-in Management.
In the Android tab, under Plug-in Providers, enable OpenXR.
Then, enable the Android XR (Extensions) feature group.
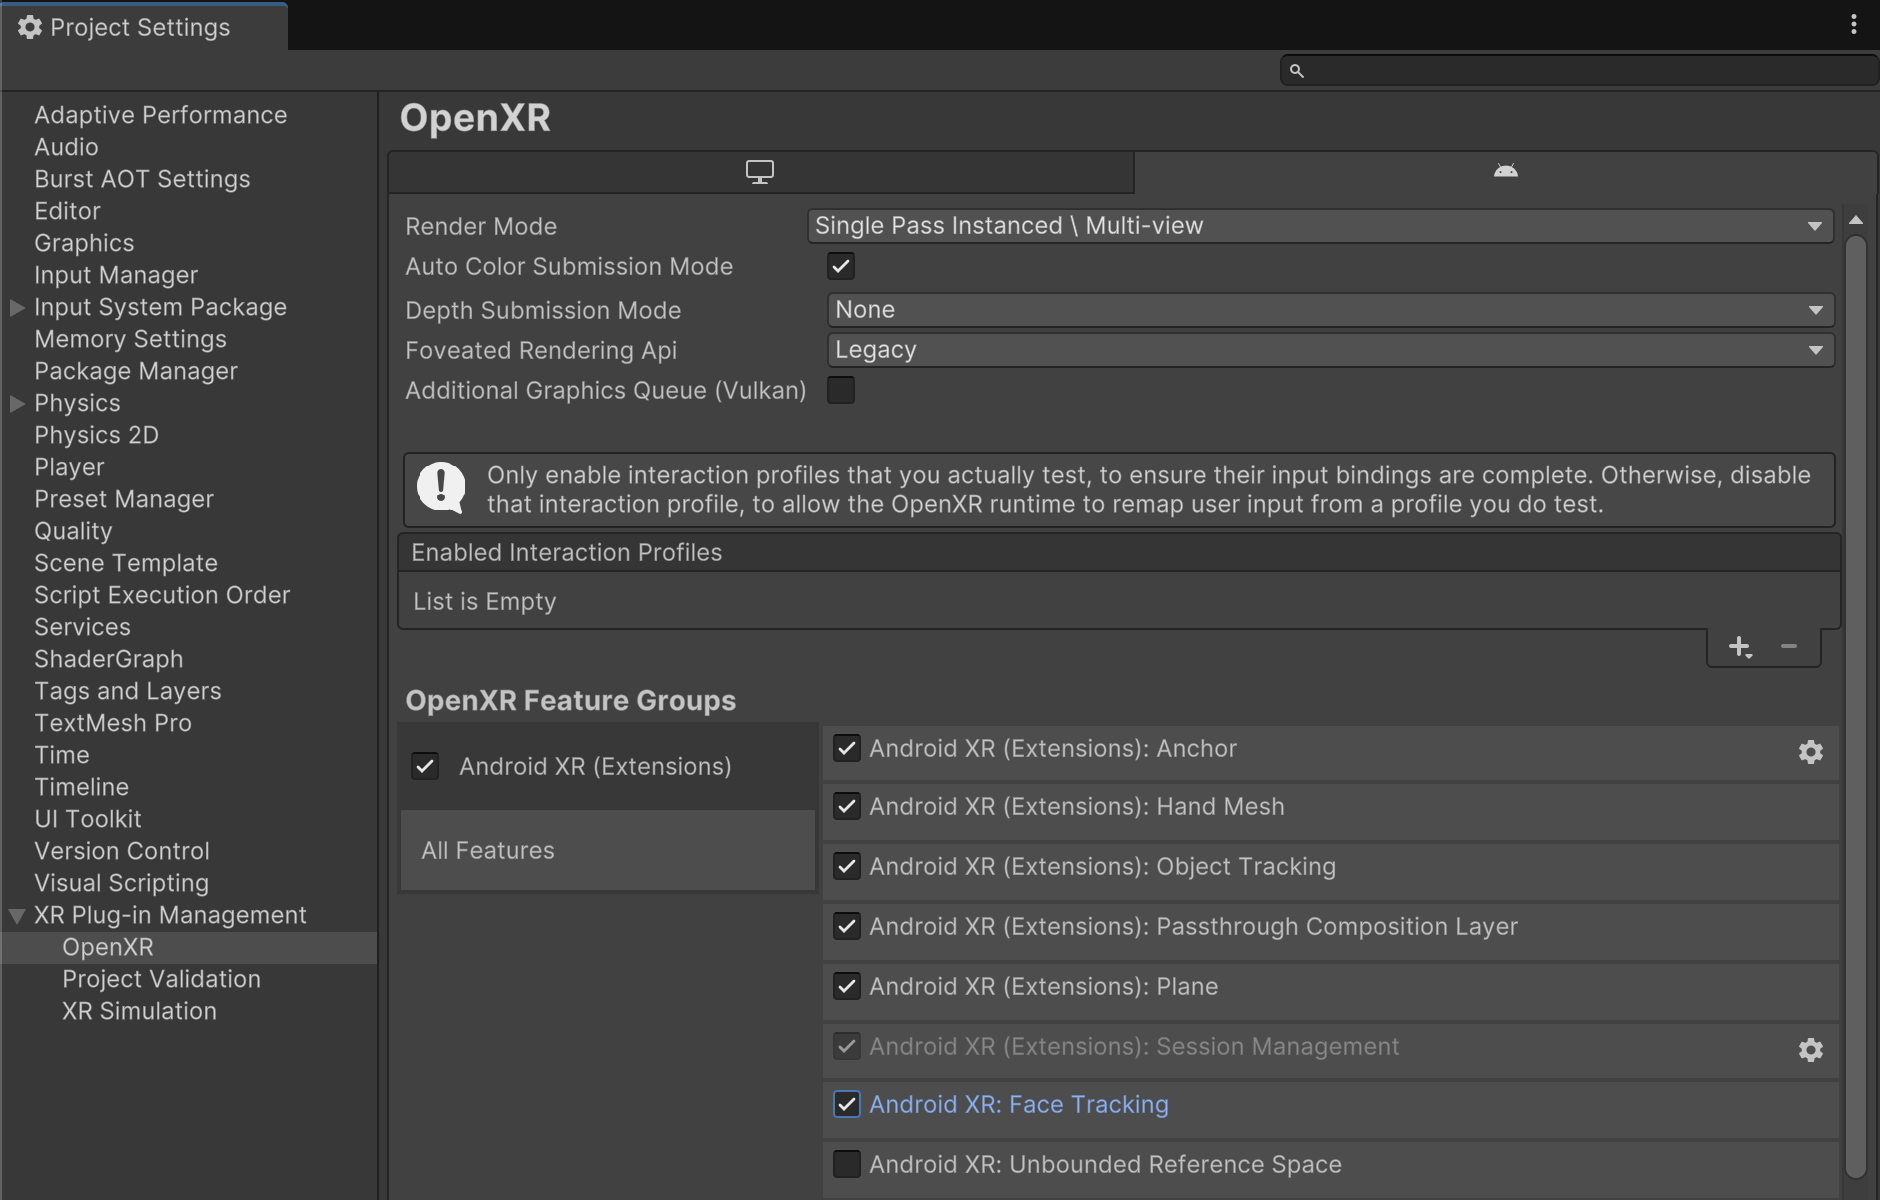
Go to Edit > Project Settings > XR Plug-in Management > OpenXR.
Enable Android XR: Face Tracking.
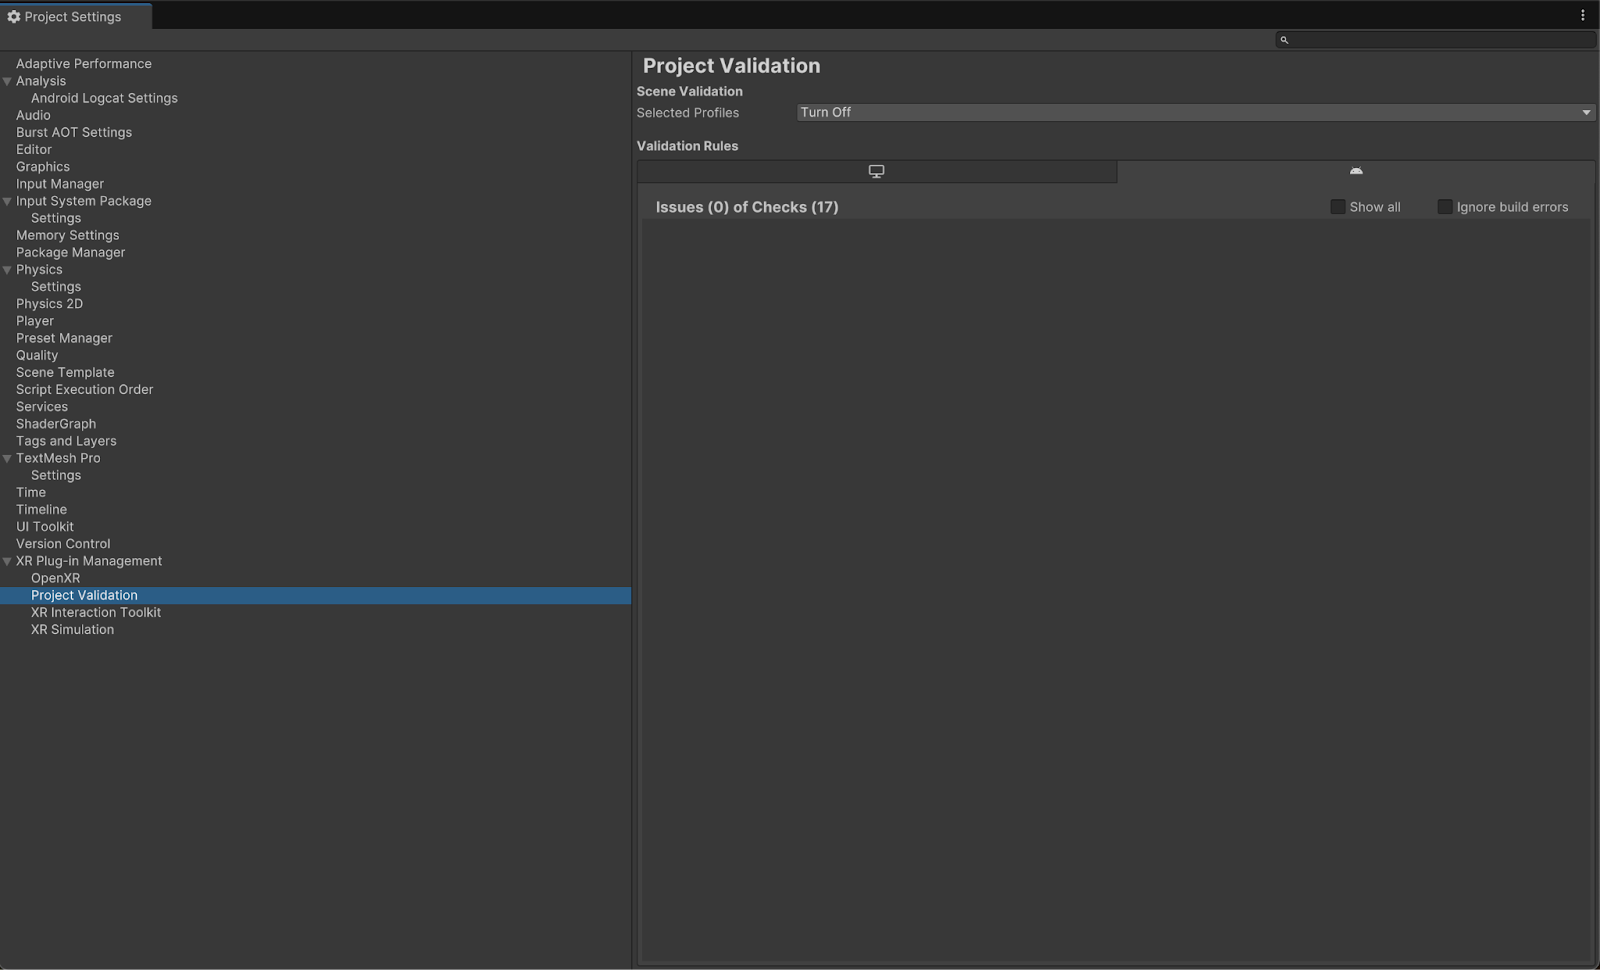
Under XR Plug-in Management > Project Validation, fix all OpenXR-related issues. This helps configure your Player Settings.
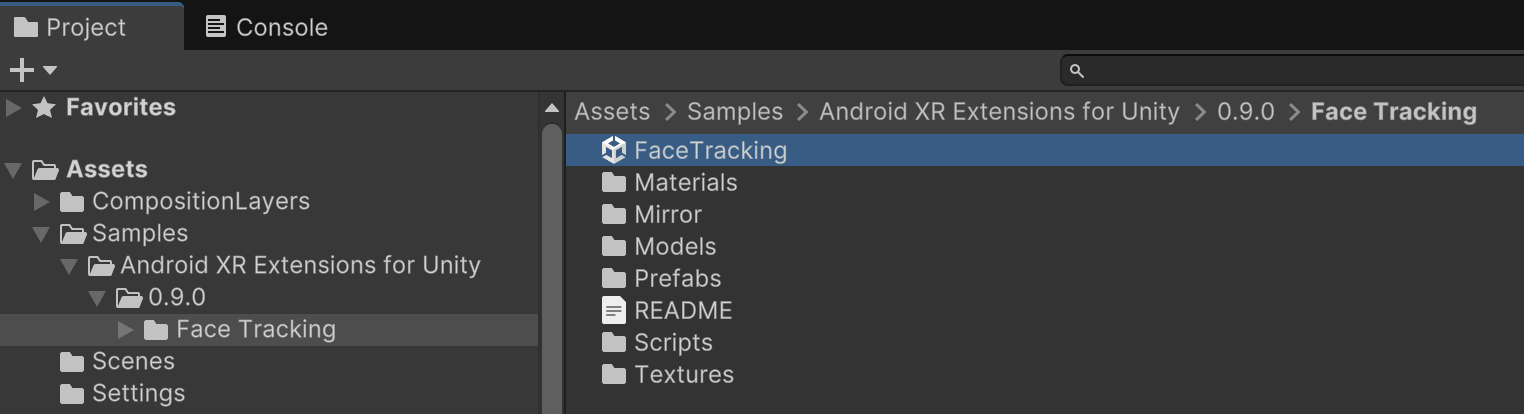
In your Project, open the FaceTracking scene, located in Assets > Samples > Android XR Extensions for Unity > version > Face Tracking.
OpenXR™ and the OpenXR logo are trademarks owned by The Khronos Group Inc. and are registered as a trademark in China, the European Union, Japan and the United Kingdom.