
Android apps have an important role to play in redefining what modern computing looks like on large screens. But just running your mobile app on a Chromebook doesn't give your users the best experience.
This page details some ways that you can tailor your experience toward laptop and convertible form factors. See our comprehensive list of tests to learn more about testing your app for compatibility on these devices.
Leverage support for free-form multi-window
The implementation of Android apps on ChromeOS includes basic multi-window support. Instead of always taking up the full screen, Android renders apps on ChromeOS into free-form window containers, which is more appropriate for these devices.
Users can resize the window that contains your Android app, as shown in figure 1. To make sure that your free-form windows resize smoothly and display their entire contents to the user, read the guidelines in Window management.
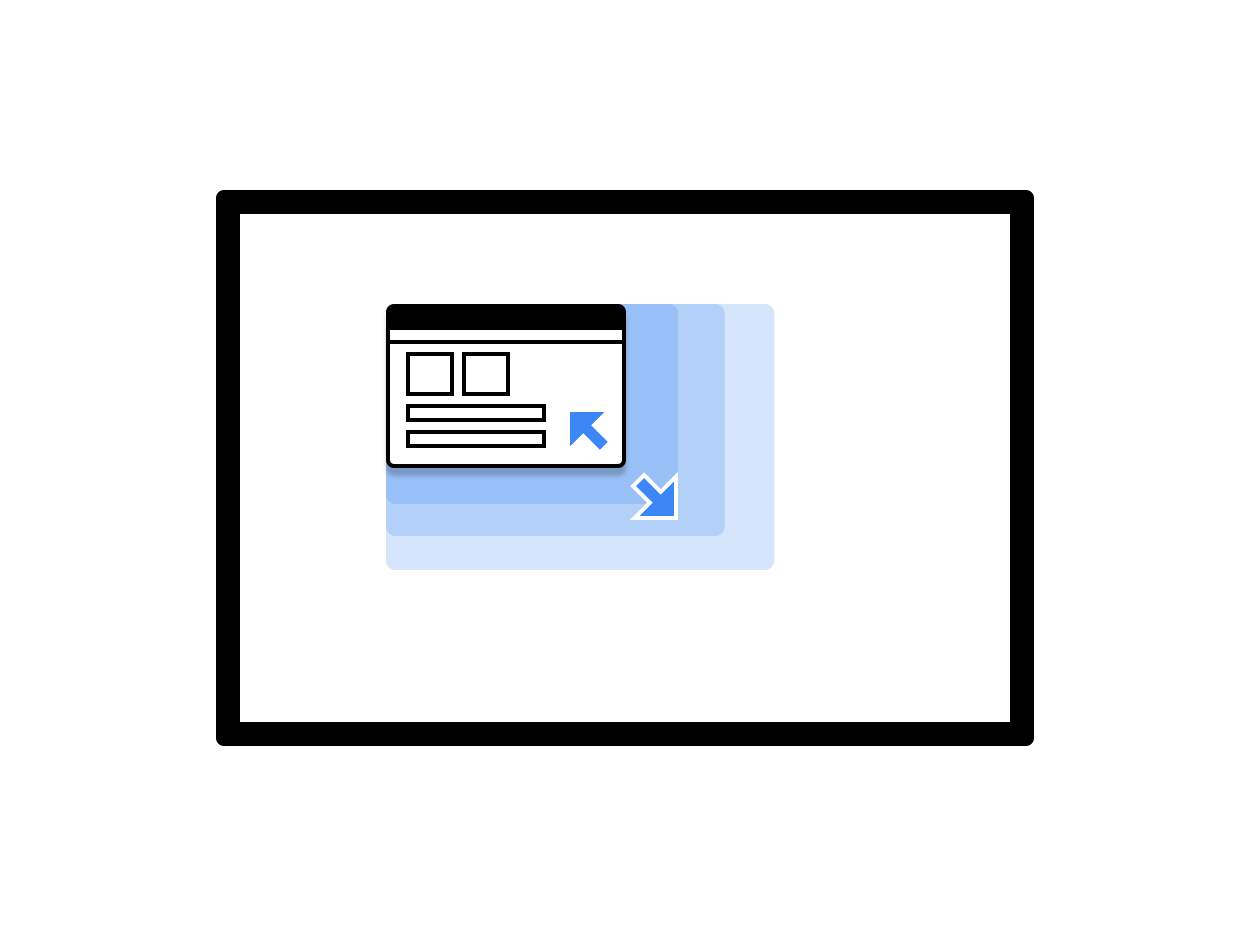
Figure 1. A resizable app window.
You can improve the user experience when your app runs on ChromeOS by following these best practices:
- Handle the activity lifecycle correctly in multi-window mode and make sure you're continuing to update the UI, even when your app is not the topmost focused window.
- Make sure that your app adjusts its layout appropriately whenever the user resizes its window.
- Customize the initial dimensions of the app's window by specifying its launch size.
- Be aware that the orientation of the app's root activity affects all of its windows.
Customize the top bar color
ChromeOS uses the app theme to color the top bar displayed on top of the app,
which shows when users hold the window controls and the back button. To make
your app look polished and customized for ChromeOS, define
colorPrimary
and, if possible,
colorPrimaryDark
values in your app's theme.
colorPrimaryDark is used to color the top bar. If only
colorPrimary is defined, ChromeOS uses a darker version of it in
the top bar. For more information, see Styles and themes.
Support the keyboard, trackpad, and mouse
All Chromebooks have a physical keyboard and a trackpad, and some have a touchscreen as well. Some devices can convert from laptop to tablet form.
In your apps for ChromeOS, support input from the mouse, trackpad, and keyboard so the app is usable without a touchscreen. Many apps already support mouse and trackpad with no extra work required. However, it's best to customize your app's behavior appropriately for the mouse and to support and distinguish between mouse and touch inputs.
Make sure that:
- All targets are clickable with the mouse.
- All touch scrollable surfaces scroll on mouse wheel events, as shown in figure 2.
- Hover states are implemented with careful judgment to improve UI discovery without overwhelming the user, as shown in figure 3.
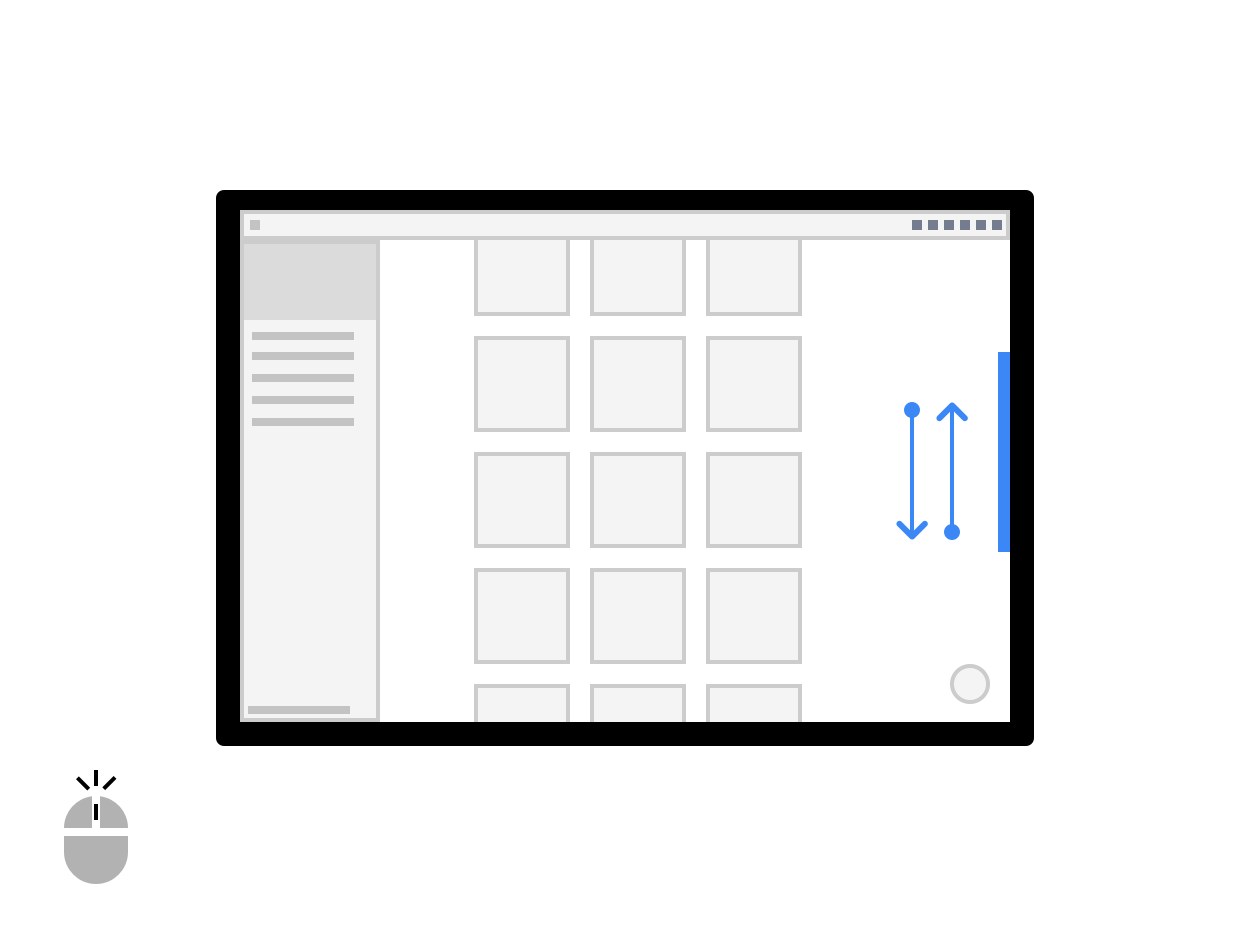
Figure 2. Scrolling with mouse wheel.

Figure 3. Button hover states.
Where appropriate, differentiate between mouse and touch inputs. For example, touch & hold on an item might trigger a multi-select UI, while right-clicking the same item might trigger an options menu instead.
Custom cursors
Customize your app's mouse cursors to indicate how users can interact with your app's UI elements.
You can set the appropriate PointerIcon to use
when users interact with an element by applying the
pointerHoverIcon modifier.
In your apps, show all of the following:
- I-beam pointers for text
- Resize handles at resizable layer edges
- Open- and closed-hand pointers for content that can be panned or dragged using a click-and-drag gesture
- Processing spinners
The PointerIcon class provides constants that
you can use to implement custom cursors.
Keyboard shortcuts and navigation
Since every Chromebook has a physical keyboard, provide hot keys to
let your users be more productive. For example, if your app supports
printing, you can use Control+P to open a print dialog.
Similarly, handle all important UI elements using tab navigation. This is especially important for accessibility. To meet accessibility standards, all UI surfaces must have obvious and accessibility-compliant focused states, as shown in the following figures:
Figure 4. Transversal tabbing.
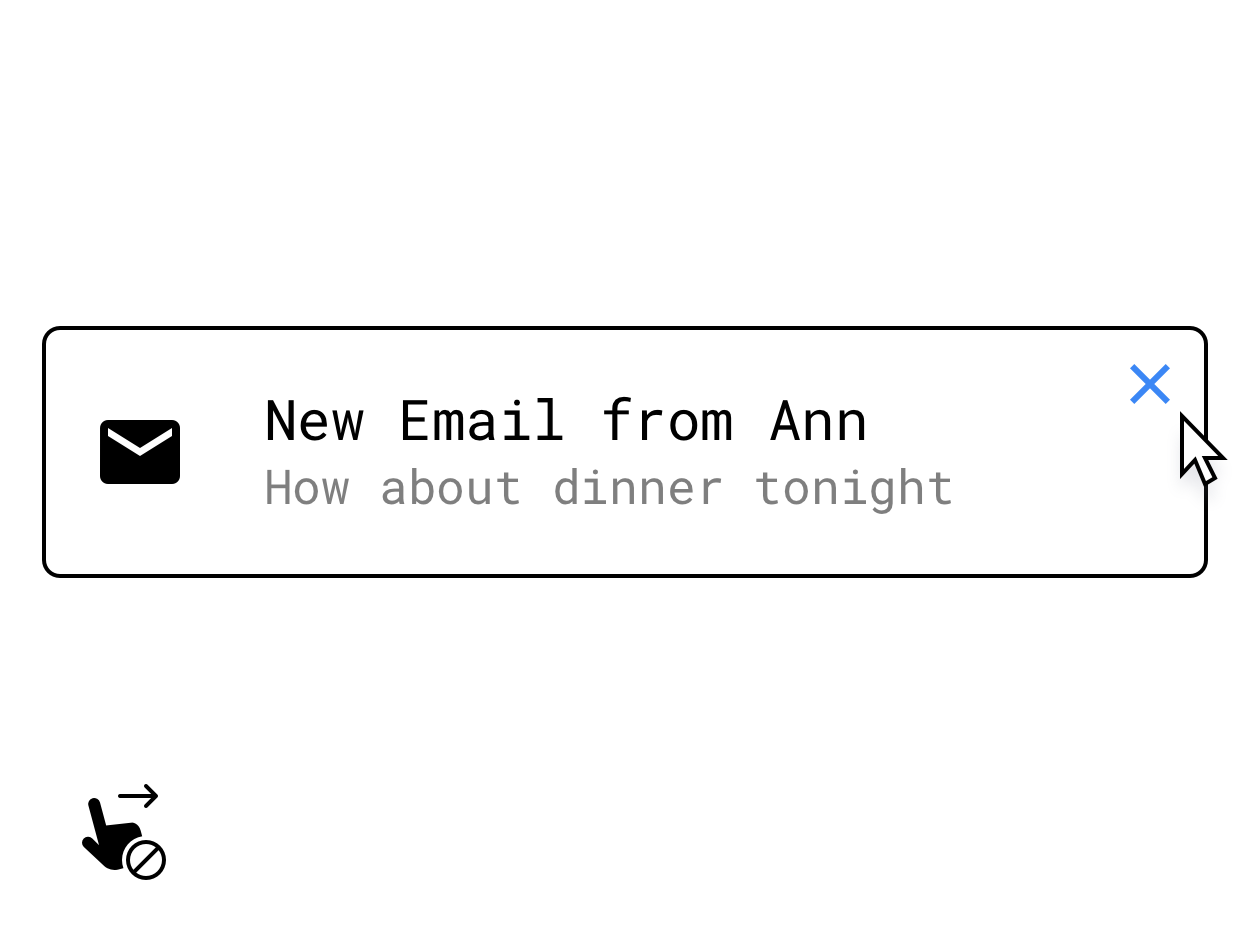
Figure 5. Replacing a swipe gesture with a control that appears on hover.
Make sure to implement keyboard or mouse alternatives for core features hidden under touch-specific interactions, such as touch & hold actions, swipes, or other multi-touch gestures. An example solution is to provide buttons that appear on a surface on hover.
For more information about keyboard, trackpad, and mouse support, see Input compatibility on large screens.
Further enhance user input
To attain desktop-grade functionality for your app, consider the following productivity-oriented inputs.
Context menus
Android context menus, which are another accelerator for taking users to features of your app, can be triggered by a click of a mouse or the trackpad's secondary button or through a touch & hold on a touchscreen:
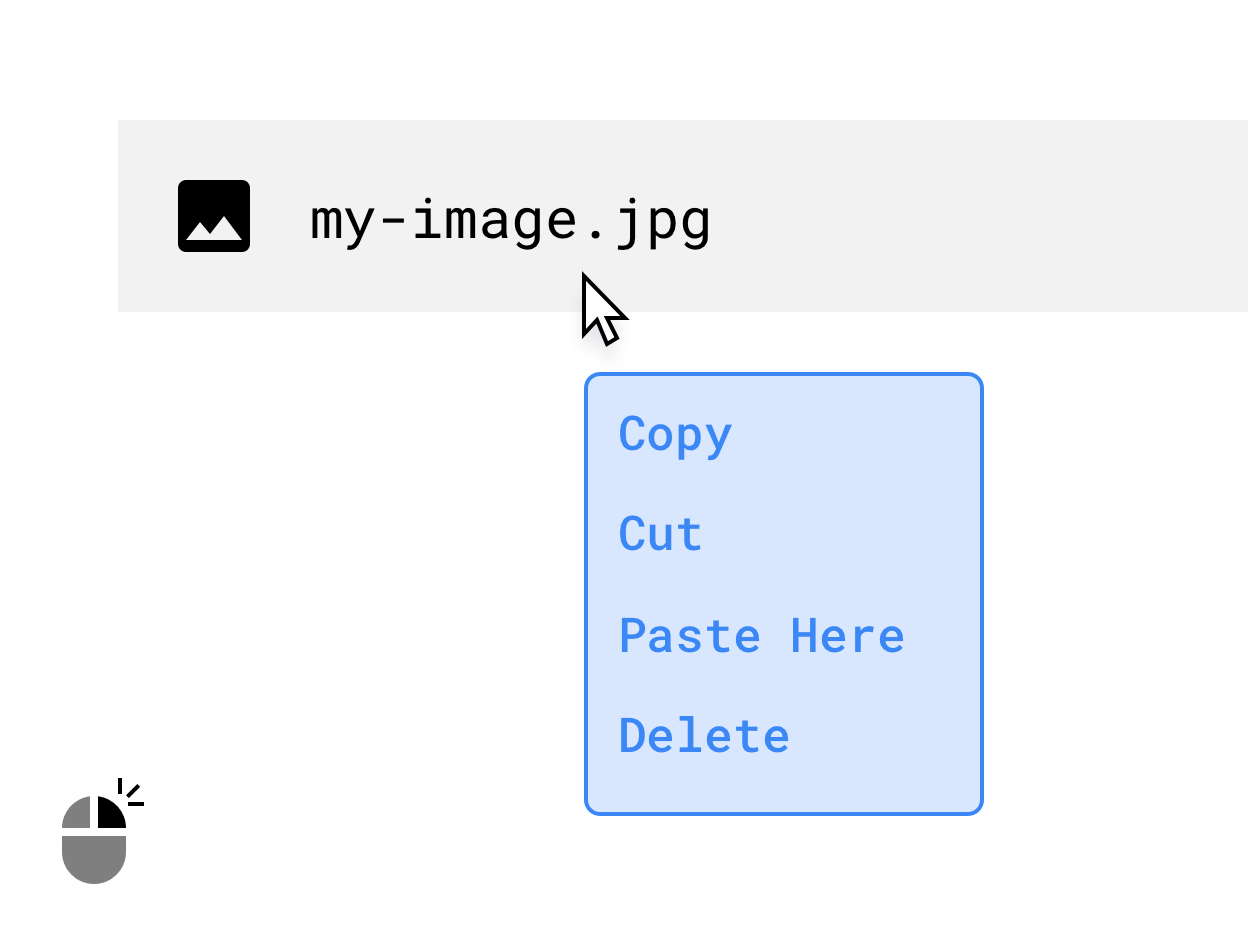
Figure 6. A context menu appearing on right-click.
Drag
Building drag interactions, like the one in the following figure, can bring efficient, intuitive productivity functionality to your app. For more information, see Drag.
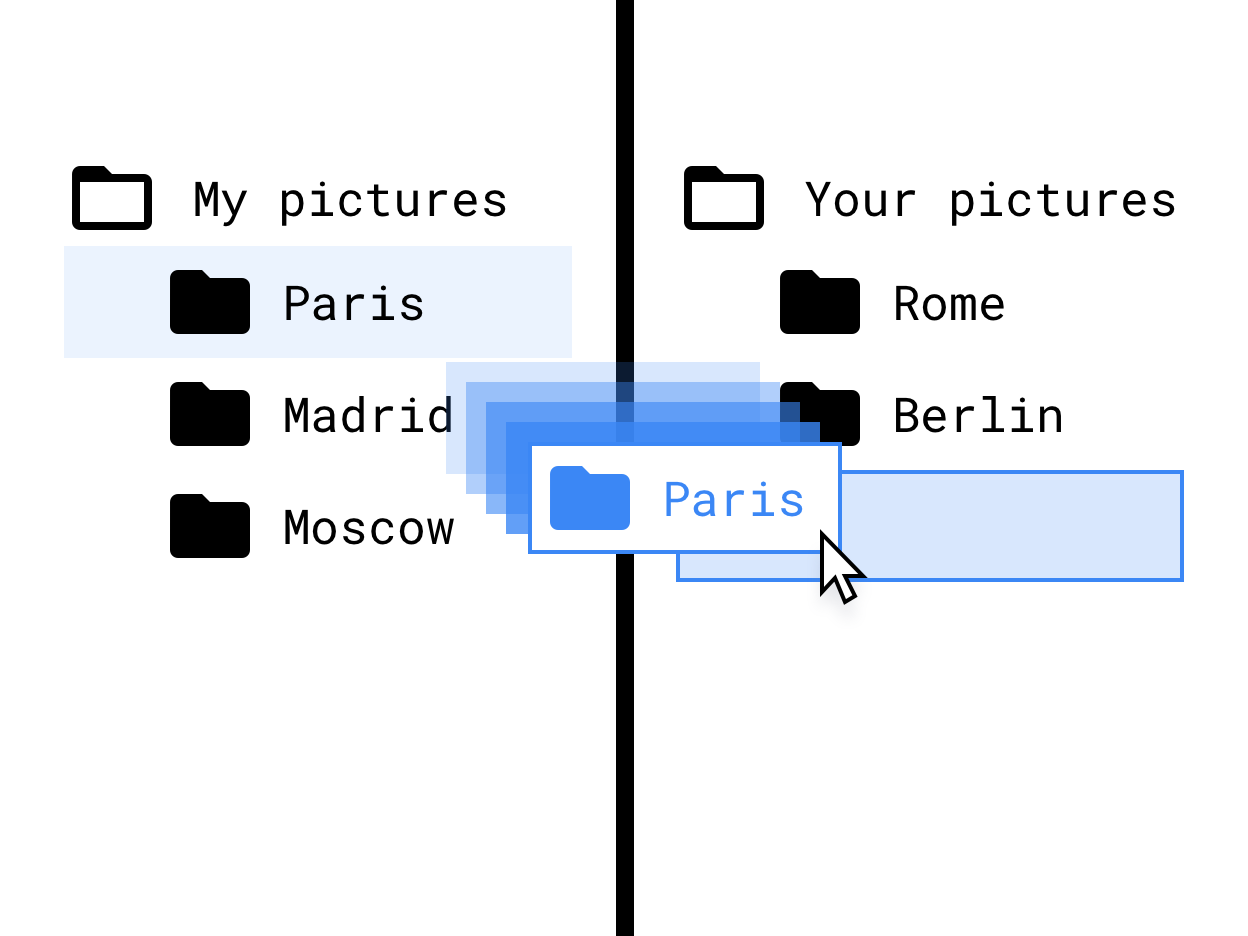
Figure 7. Drag and drop in a file tree interface.
Stylus support
Stylus support is crucial for drawing and note-taking apps. Provide enhanced support for stylus-equipped Chromebooks and tablets by implementing interactions tailored to the usage of stylus input.
Be considerate of the potential variations in different stylus hardware when designing your stylus interactions. For an outline of the stylus APIs, see Input compatibility on large screens.
Make your layouts responsive
Make good use of the screen real estate available to your app regardless of its visual state (fullscreen, portrait, landscape, or windowed). Some examples of good space usage include the following:
- Display app architecture.
- Limit text length and image size to a maximum width.
- Make better use of real estate in the app's toolbar.
- Improve placement of UI affordances by adapting the app to mouse usage instead of thumb usage.
- Optimize the size of videos and images, establish a set of maximum width and height for all media, and maximize readability and scannability.
- Use window size classes and pane layouts to implement adaptive design.
Also consider the following:
- Remove or reduce the importance of horizontal scrolling components.
- Avoid fullscreen modal UI. Use inline UI, such as progress indicators and alerts, for all non-critical actions.
- Use improved UI components, such as time and date pickers, text fields, and menus that are designed for mouse, keyboard, and larger screens.
- Use inline edits, additional columns, or modal UI instead of a new activity for a small to medium edit feature.
- Remove or modify floating action buttons (FABs) for better keyboard navigation. By default, a FAB positions last in transversal tabbing order. Instead, make it first, because it is the primary action, or replace it with another, higher-level affordance.
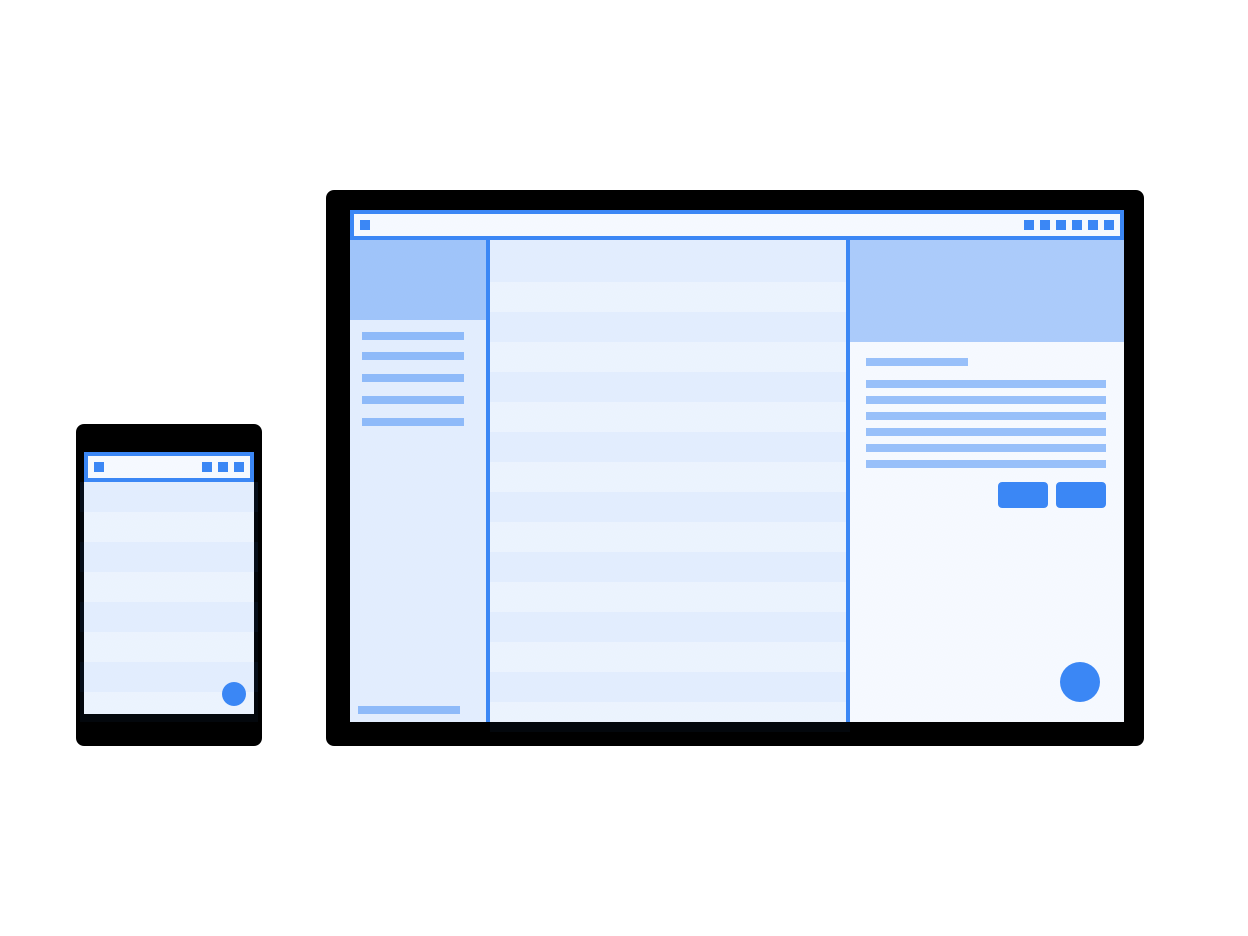
Figure 8. Mocks of a responsive layout on a phone and desktop size screen.
Change navigation patterns
A system-level back button is a pattern carried over from Android's handheld roots—one that doesn't fit as well in a desktop context.
As your app becomes increasingly customized for a laptop environment, consider moving toward a navigation pattern that de-emphasizes the back button. Let the app handle its own history stack by providing in-app back buttons, breadcrumbs, or other escape routes like close or cancel buttons as part of its large screen UI.
You can control whether your app displays a back button in its window by
setting a preference inside the
<activity>
tag. A setting of true hides
the back button:
<meta-data android:name="WindowManagerPreference:SuppressWindowControlNavigationButton" android:value="true" />
Resolve issues with camera preview images
Camera problems can arise when the app can only run in portrait orientation but the user runs it on a landscape screen. In this case, the preview or the captured result might be incorrectly rotated.
To simplify camera development, consider using the CameraX library.
For more details, see the camera preview issues explanation.
Handle device settings
Consider the following device settings for apps running on ChromeOS.
Change volume
ChromeOS devices are fixed-volume devices: apps that play sound have their own volume controls. Follow the guidelines for Working with fixed-volume devices.
Change screen brightness
You can't adjust device brightness on ChromeOS. Calls to the
system settings and
WindowManager.LayoutParams are ignored.