To get started with Gemini in Android Studio for businesses, your team needs to complete the following steps. In this guide, we link to the Gemini Code Assist docs for steps that are typically done by an admin. If these setup steps have been completed for your team and you're ready to integrate Gemini in Android Studio for businesses in your development workflow, continue with the onboarding flow described on this page.
Set up Gemini Code Assist. This step is typically done by an admin.
Complete the business tier onboarding flow in Gemini in Android Studio.
Business tier onboarding for developers
Once your team completes the steps to set up Gemini Code Assist, you can start using Gemini in Android Studio for businesses in your development workflow:
- Download Android Studio. Note that some features are under active development and only available through Studio Labs or a preview version of Android Studio. See Features to check what version of Android Studio you need for the features you're interested in using.
- To launch Gemini, open or start an Android Studio project and click
Gemini
 .
Alternatively, click View > Tool Windows > Gemini.
 - Sign in to your Google Account when asked, if you aren't already signed in.
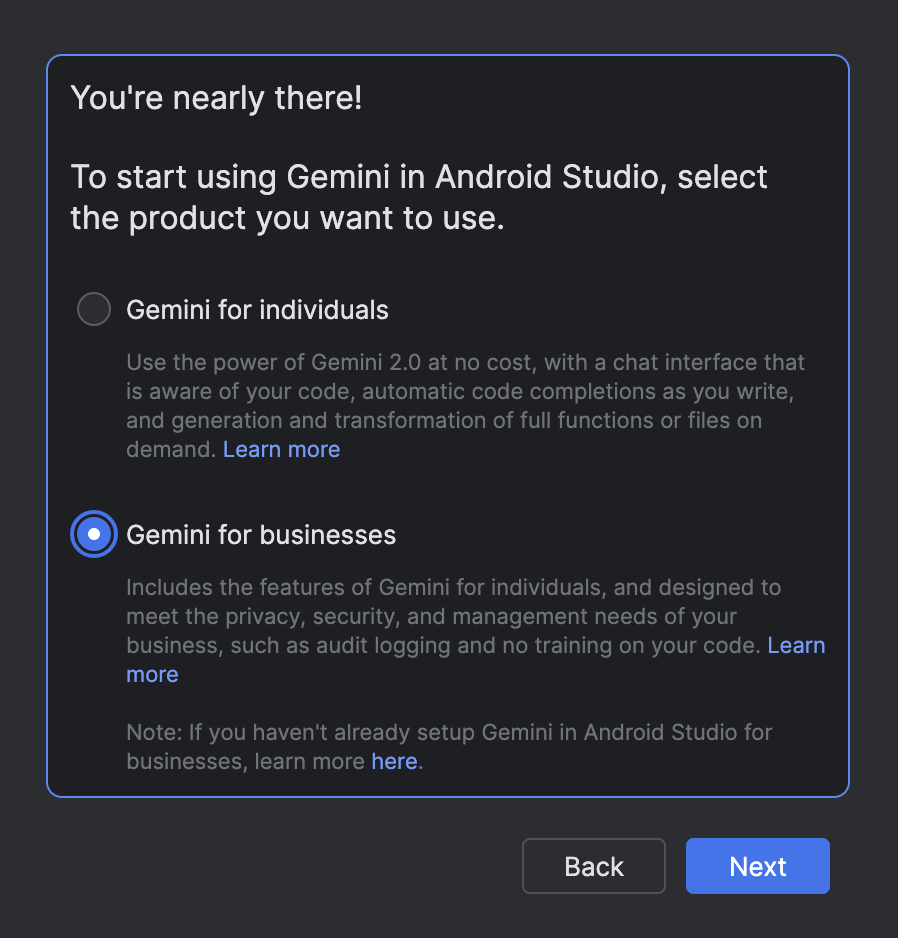
Select Gemini for businesses when given the choice of product tier.

Select the Google Cloud project that has the Gemini for Google Cloud API enabled. Ask your admin for the name of the project, if needed. Once you select a project the Gemini tool window opens and you can start sending queries.
When you're using Gemini in Android Studio for businesses, you should see the "Gemini for businesses" label at the bottom of the Gemini tool window.

