
Before you deliver one-time product to Play Point members, you must create the product and set up a Play Points promotion.
One-time product requirements
When you create one-time products for Play Points promotions, you must follow the one-time product requirements in this section. These requirements ensure that you effectively promote your one-time products with a clear and consistent experience when players return to your game.
Name
Use a product name that is understood by users and Play Points members. If the same, or a similar item is already available in your game, they should have consistent names. The name should describe the item and the amount of the item, such as "100 Gems." Use a clear name to distinguish between similar items that have different functions in a game such as, paid items and free items.
Consider using different names for one-time products when they appear in the Play Console and when they appear in your game after being purchased with Play Points.
When you set up the product in the Play Console, ensure that the name does not mention Google, Play, or Play Points. Similarly, don't reference the name of your app. Your one-time product promotion will be featured under your app heading in the Play Points program automatically.
In your app, we recommend that the name reference Google Play Points so users can understand where the item originated.
Here's an example of one-time product naming for 50 gems:
- For Play Console and Play Points: "50 gems"
- In your app: "50 gems - from Play Points"
We recommend in-game products display names that are 20 characters or less in length, in order to display them on a single line in the Google Play app. However, display names can be up to 55 characters long if needed. To avoid using additional characters, don't include "Google Play Points" or the name of the app in the display name. Avoid using unnecessary characters including: "[]", "()", "*", "<>", "{}", "_".
Description
If you are displaying an item that is not well known in your game, provide a product description to clarify the benefits and value of the item. An example of this type of item is an exclusive item only available to members of Google Play Points. The description must be 200 single byte characters or less.
Icons
Each in-game item requires a unique icon that best represents that content. If the item is also available in your game, the icon should use the same visual used in the game so there is consistency for users. If you are submitting multiple items for an individual game, the artwork should be distinct to help users recognize that they are different items.
Upload icons
Icons are uploaded using Play Console as part of one-time product creation. A preview of your icon is generated after the upload (with a border automatically applied) prior to submission of your Play Points promotion.
Promotional artwork is reviewed during pre-publishing checks by Google. If your asset does not meet the artwork criteria, your promotion will be rejected.
After your artwork is approved, Google generates 1x mini card, 2x mini card, and a hexagon version of your icon.
Here are the final image requirements:
- Image size: Between 512 px by 512 px (minimum) and 1080 px by 1080 px (maximum)
- Aspect ratio: 1:1
- Main artworks should be centered and sized between ~255 px by ~255 px (minimum) and ~537 px by ~537 px (maximum)
- File type: 32-bit PNG
- Resolution: 72 PPI
- Colorspace: sRGB
- Max file size: Up to 8 MB
Icon model
Main Artwork: between ~255 by ~255 (minimum) to ~537 by ~537 (maximum)
The safe zone is where the main artwork in your icon should be placed. Stay within the recommended bounds to prevent any unnecessary cropping of your artwork.
Background: between 512 by 512 (minimum) and 1080 by 1080 (maximum)
Use a simple pattern or solid color for the background so the icon is easy to read.
These are examples of the Google generated versions:
1x mini card
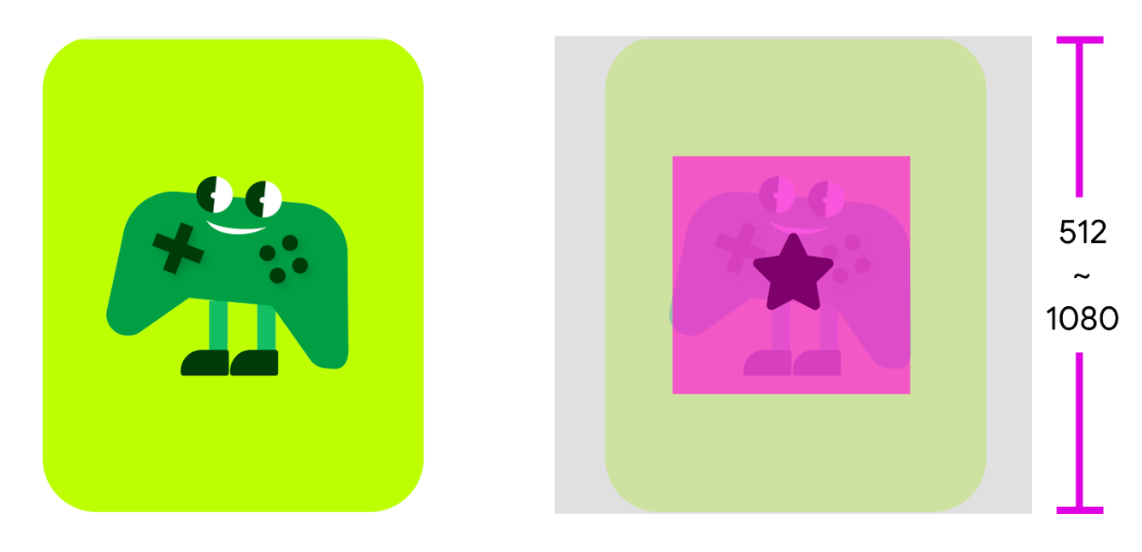
Figure 2.: Example of a 1x mini card. 2x mini card
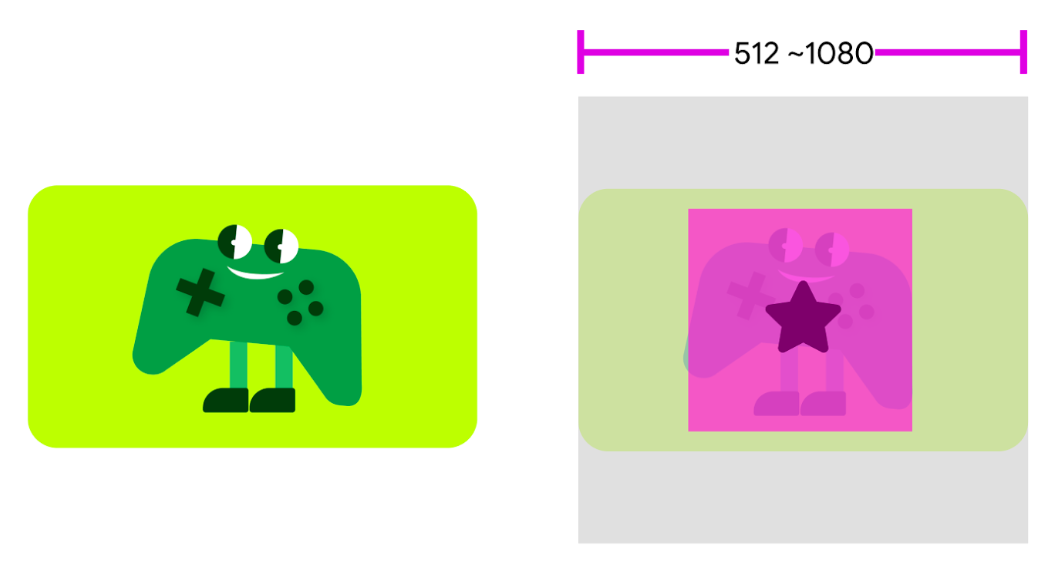
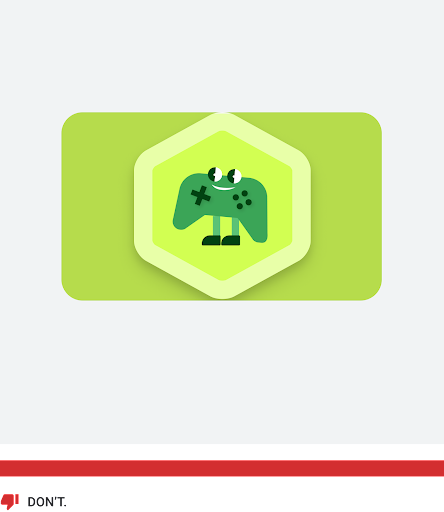
Figure 3.: Example of a 2x mini card. Hexagon icon
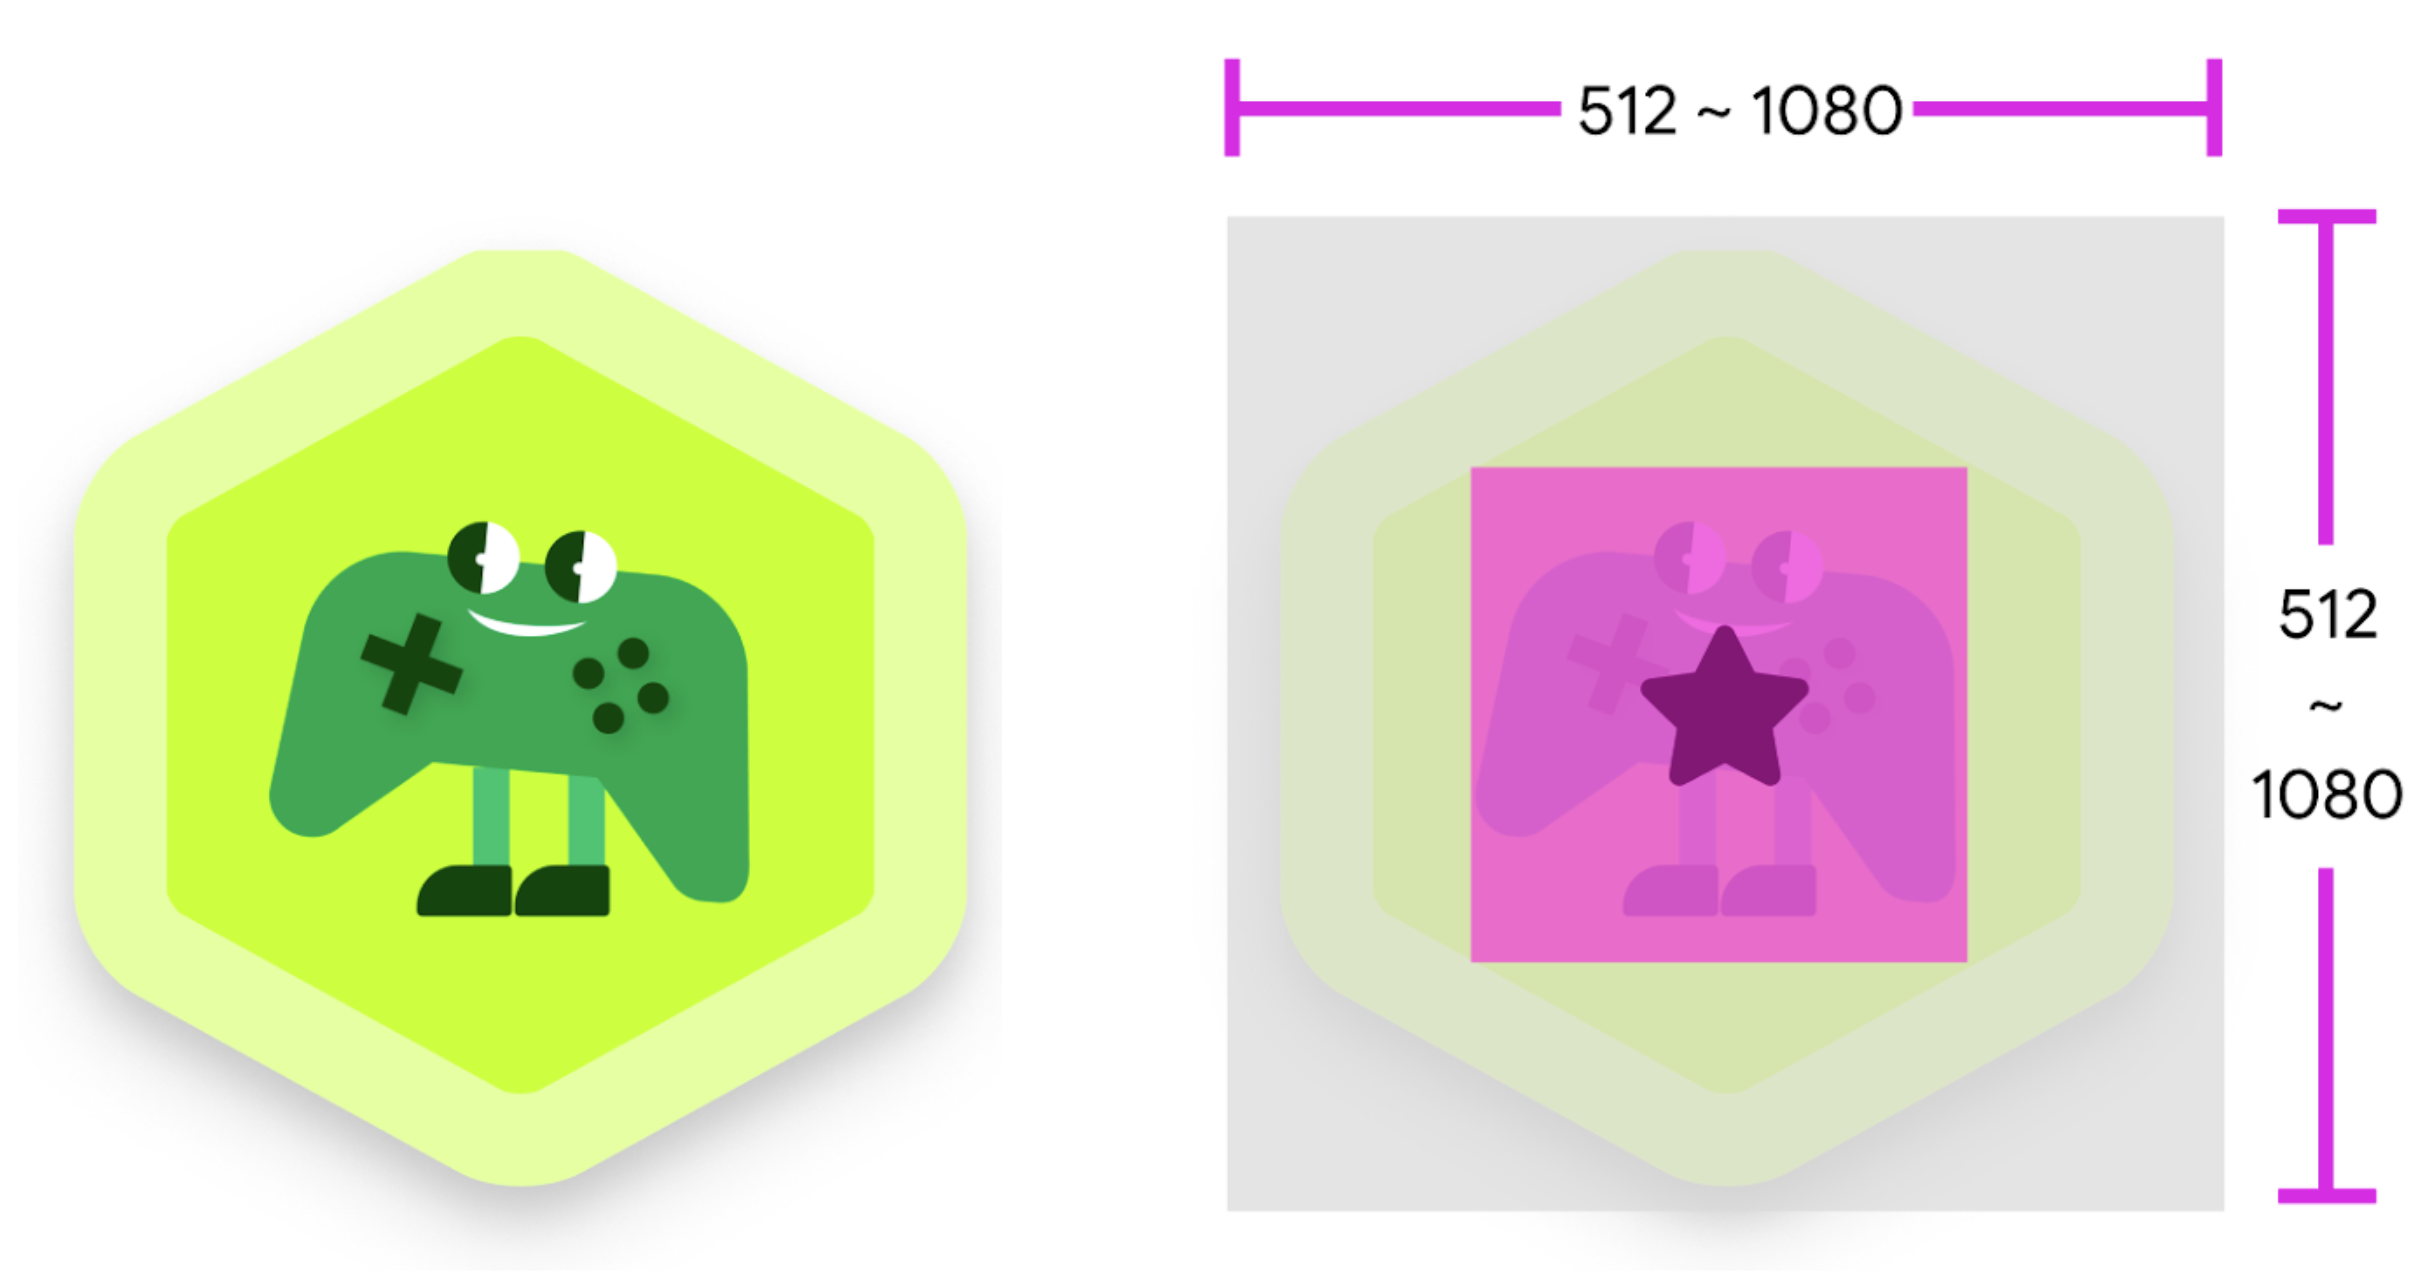
Figure 4.: Example of a hexagon icon.
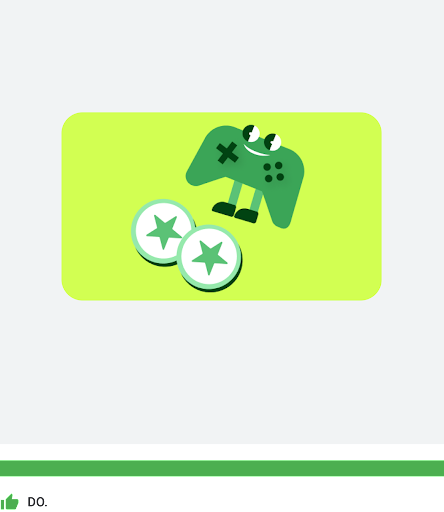
Icon examples and tips
Here are some best practices and examples for designing icons:
| Use the recommended safe zone (~255 x ~255) for the size of the artwork. | Don't use artwork that is cropped by more than 10%. |
|
|
| You can crop the artwork in your icon, but not by more than 10%. |

|
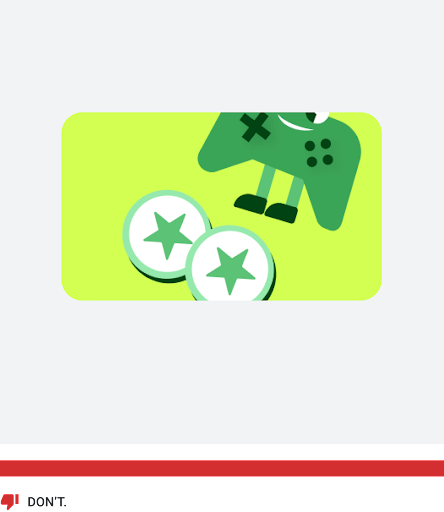
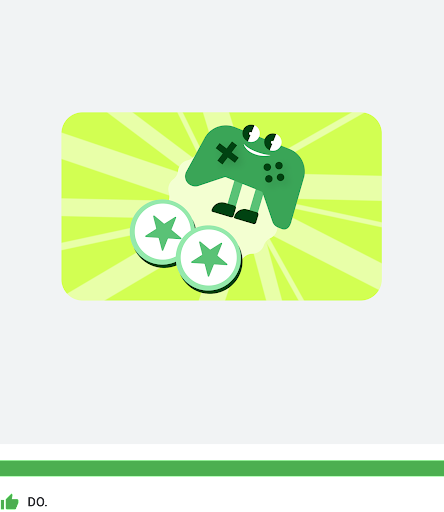
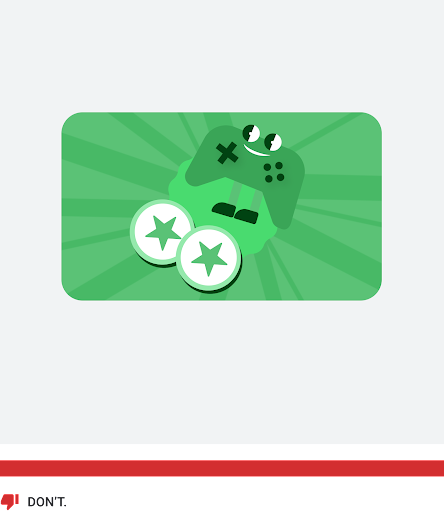
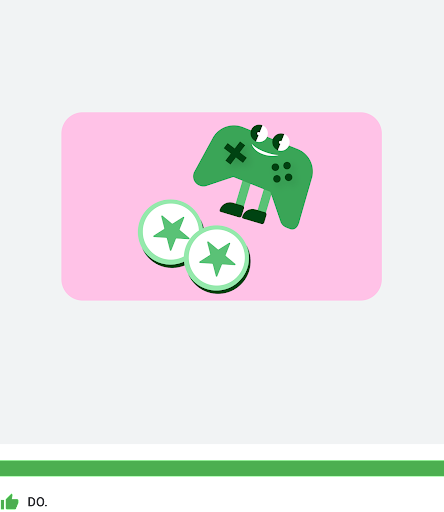
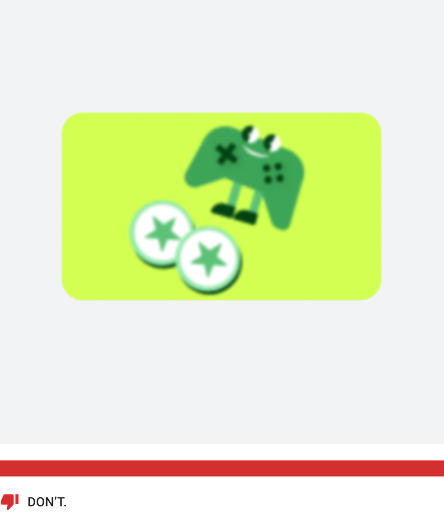
| Use a background that represents your brand or complements the artwork. | Don't use a background that is the same tone and color as your artwork. |
|
|
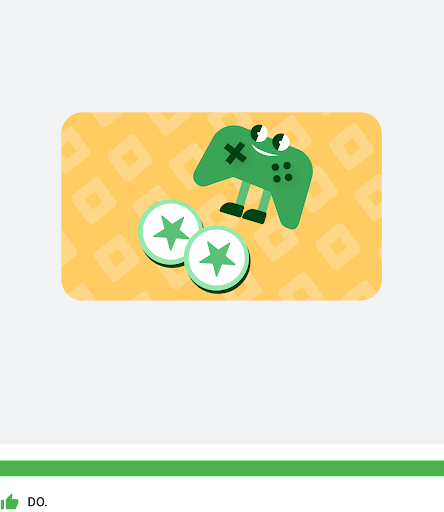
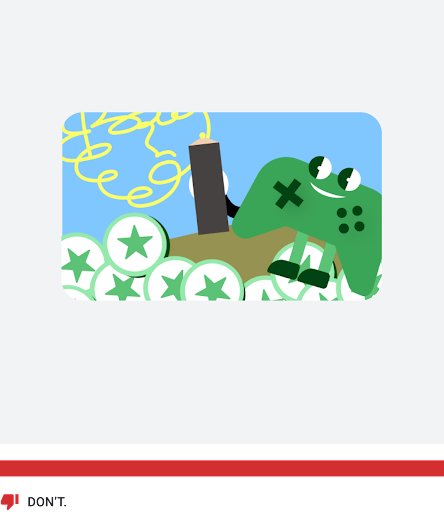
| Use a background that draws attention to your icon. | Don't use a background that has a busy pattern. |
|
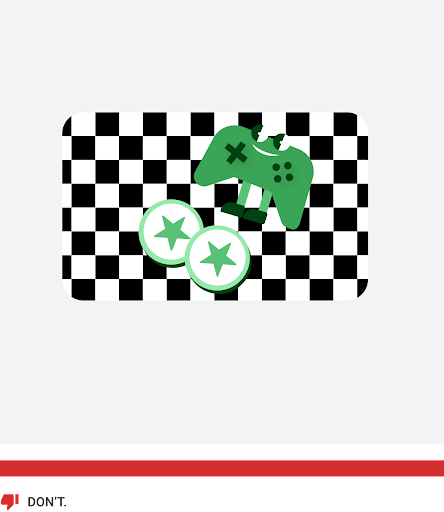
|
| Use a background that contrasts with your icon. | Don't use a white background or the borders of the card won't be visible. |
|
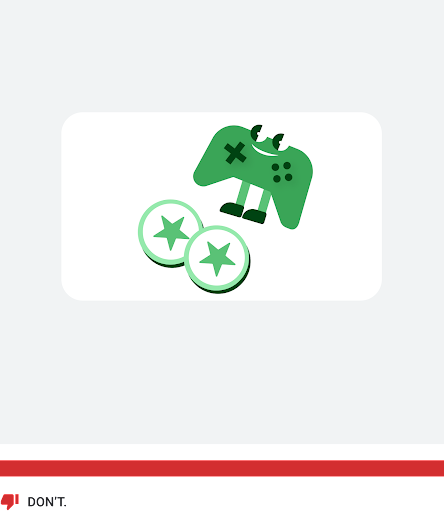
|
| Don't add text or numeric descriptions. | Don't add any type of promotional call-outs or promotional branding. |
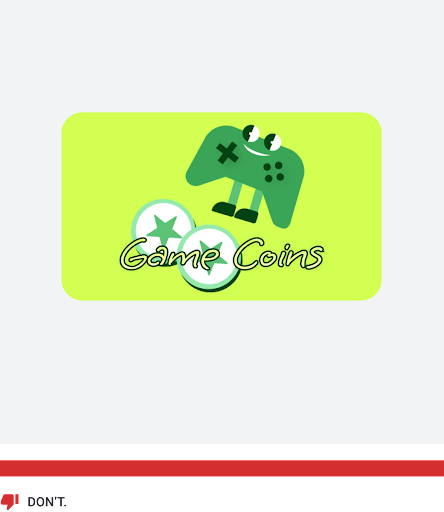
|
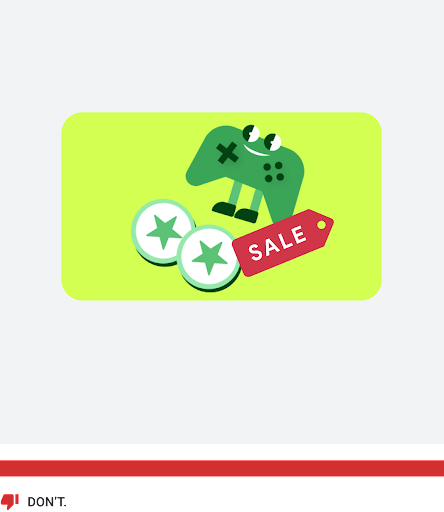
|
| Don't use low resolution image content. | Don't use an image that is too small. |
|

|
| Don't use complex imagery. | Don't use objects that are off-centered. |
|
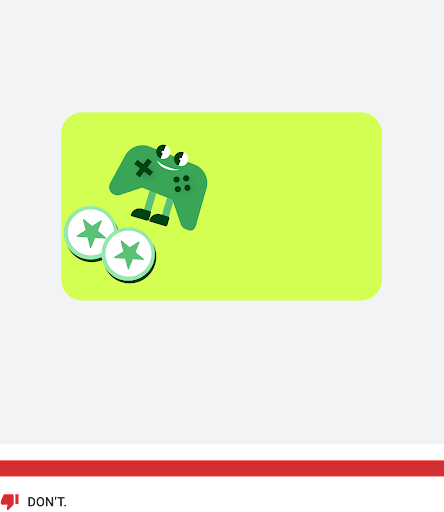
|
| Don't use a hexagon shape in the card. |
|
Create a one-time product
To create a one-time product for Play Points, use the Play Console to create the product while following the icon requirements in the previous section. For information about creating one-time products, see the one-time product guide in the Play Console help documentation.
Here's an example one-time product for a Play Points promotion:
- Product Type: One-time product
- Product ID: com.example.your_title.1500gems.rew
- We recommend that you append "rew" (reward) to your Product IDs. This can help both you and Google to identify your Play Points promotions.
- Name: 1500 Gems
- Description: Detail about the one-time product
- Icon: Upload an asset; see icon requirements
- Status: Active (activate your one-time product post-setup)
Once the item is created, ensure that your game APK and your game server can access it. For more information, see Self-test using promo codes from Play Console.
Set up a Play Points promotion
After creating and activating your one-time product, use the Play Console to offer it as a Play Points promotion. You'll then submit your promotion for review by Google prior to publishing it for redemption by Play Points members.