
Gemini in Android Studio's Agent mode is designed to handle complex, multi-stage development tasks that go beyond what you can experience by just chatting with Gemini. You can describe a high-level goal, and the agent will create and execute a plan, invoking the necessary tools, making changes across multiple files, and iteratively fixing bugs. This agent-assisted workflow empowers you to tackle intricate challenges, accelerating your development process.
System requirements
Agent mode is available in Gemini for individuals starting in Android Studio Narwhal Feature Drop Canary 4. Agent mode is available in Gemini for businesses starting in Android Studio Narwhal Feature Drop Canary 7. Download the latest preview version of Android Studio.
Get started
To get started in Agent mode in Android Studio, follow these steps:
- Click Gemini
 in the side bar. Sign in and onboard if you need to.
 - Select the Agent tab.
- Describe the task you want the agent to perform.
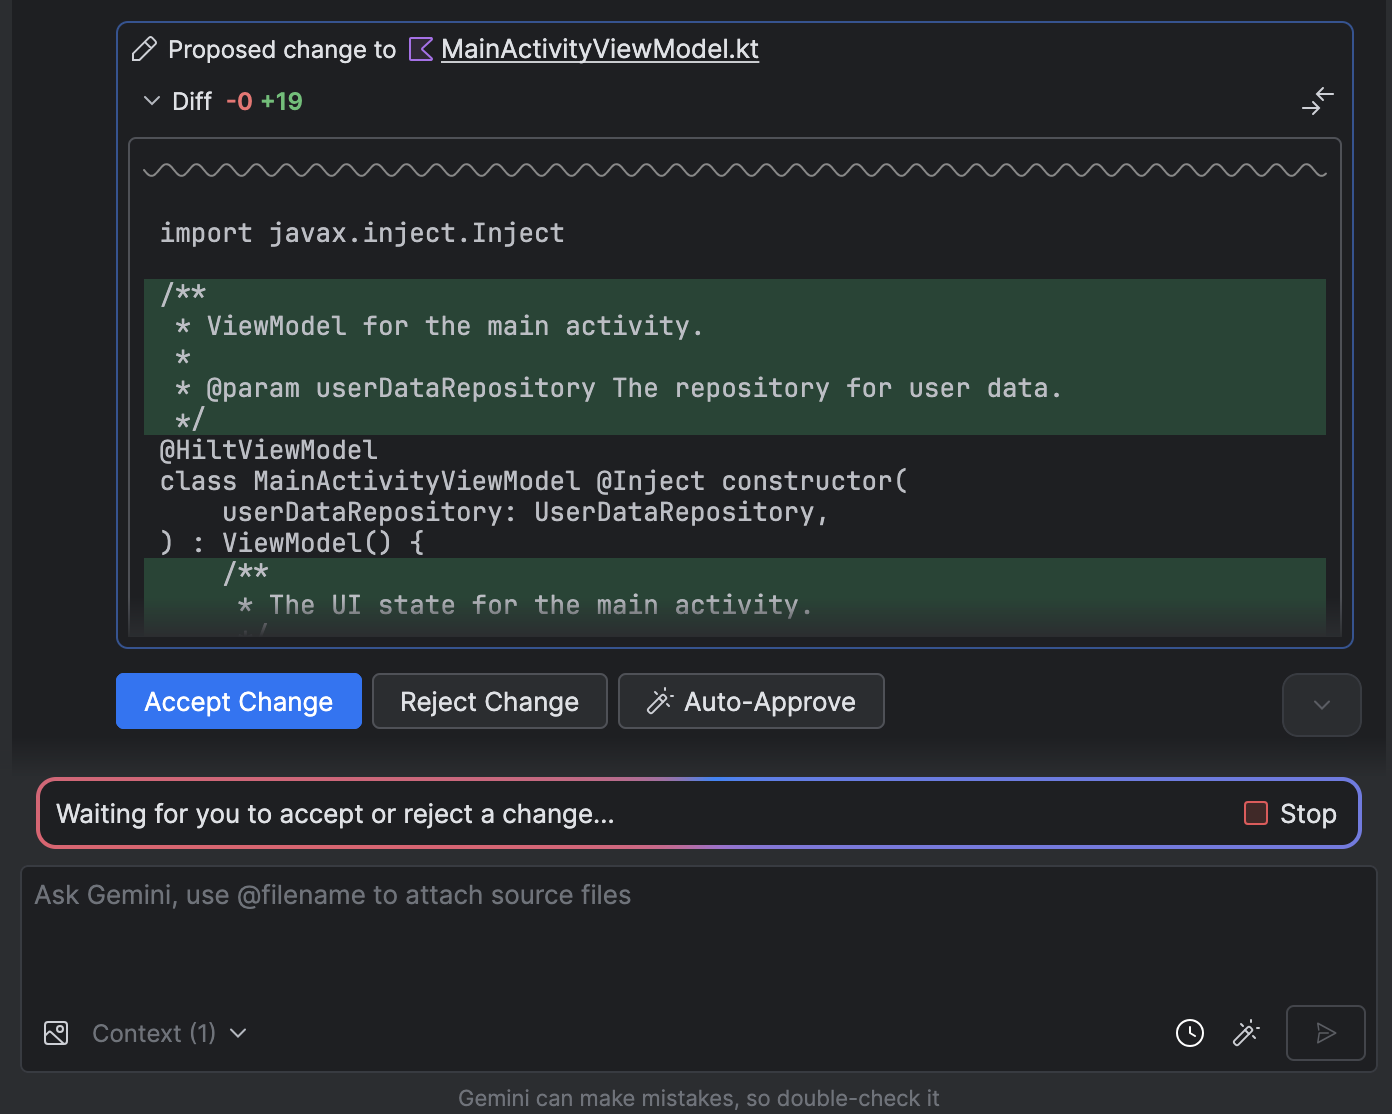
As the agent goes through the steps to accomplish the task, you'll have the option to review and approve any changes.
Optional: To automatically approve changes, select Agent options
 > Auto-approve changes.
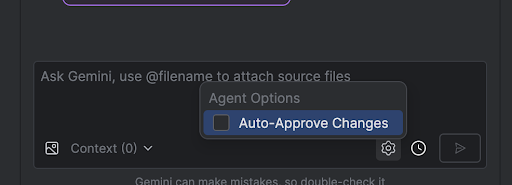
Use cases
Here are some examples of use cases that the agent can help you with:
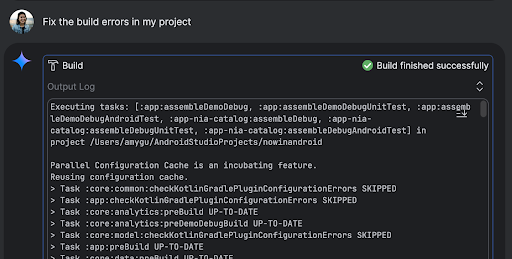
Fix build errors. When you ask the agent to fix a build error using a prompt like "Fix build errors in my project," it will apply a recommended fix, build the project to verify the solution, and iterate until the issue is resolved.
Agent mode can add or update UI elements all on its own. For example, ask the agent to "Make dark mode the default in user preferences" and it'll search for the relevant files and suggest changes to accomplish the task. You can immediately preview the UI updates in the Running devices tool window.
It's helpful to have mock data when prototyping and testing your app. Instead of manually creating fake data yourself, you can give that task to the agent. Here we've asked the agent to "Add two more sessions to the fake data." It finds the relevant file and adds two more events to the
mockSessionslist.
Some other prompts to try:
- "Write unit tests for <class> in <module>."
- "Generate documentation for the currently open file."
- "Change the app title from <current name> to <new name>."
- "Resolve the null pointer exception."
- "Refactor my code by moving the <composable name> composable to a new file. Ensure all imports are updated."
- "Add a new button to the app's home screen called 'Follow' that takes you to a list of topics."
- "In the <composable name> composable, reduce the padding of the <modifier name> modifier."
- "Create a share button to share to social media."
Add your Gemini API key
The default Agent mode in Android Studio has a no-cost daily quota with a limited context window. To expand the context window, you can add your own Gemini API key to take advantage of up to 1 million tokens with Gemini 2.5 Pro.
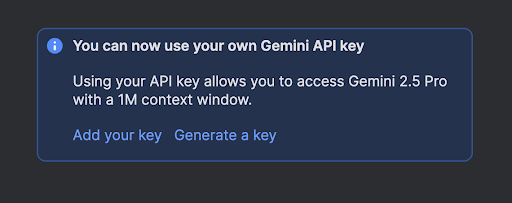
A larger context window lets you send more instructions, code, and attachments to Gemini, leading to even higher quality responses. This is especially useful when working with agents because the larger context provides Gemini 2.5 Pro with the ability to reason about complex or long-running tasks.
To get an API key:
- Sign in to Google AI Studio and get a key by clicking on the Get API key button.
- In Android Studio, go to File (Android Studio on macOS) > Settings > Tools > Gemini to enter your Gemini API key.
- Relaunch Gemini in Android Studio and get even better responses from Agent mode.

Be sure to safeguard your Gemini API key because additional charges apply for Gemini API usage associated with a personal API key. You can monitor your Gemini API key usage in AI Studio through Get API Key > Usage & Billing.
Add an MCP server
Gemini in Android Studio's agent can interact with external tools using the Model Context Protocol (MCP). This feature provides a standardized way for Agent mode to use tools and extend knowledge and capabilities with the external environment.
There are many tools you can connect to the MCP Host in Android Studio. For example, you can integrate with the Github MCP Server to create pull requests directly from Android Studio. For more ideas, see the MCP example servers.
To add an MCP server, create a mcp.json file and place it in the
configuration directory of Studio. The
mcp.json file should follow this format:
{
  "mcpServers": {
    "memory": {
      "command": "npx",
      "args": [
        "-y",
        "@modelcontextprotocol/server-memory"
      ]
    },
    "sequential-thinking": {
      "command": "npx",
      "args": [
        "-y",
        "@modelcontextprotocol/server-sequential-thinking"
      ]
    },
    "github": {
      "command": "docker",
      "args": [
        "run",
        "-i",
        "--rm",
        "-e",
        "GITHUB_PERSONAL_ACCESS_TOKEN",
        "ghcr.io/github/github-mcp-server"
      ],
      "env": {
        "GITHUB_PERSONAL_ACCESS_TOKEN": "<YOUR_TOKEN>"
      }
    }
  }
}
Refer to the documentation for the MCP server you're integrating with for the
precise command and args that you should list in this file. You might also
need to install tools such as Node.js or Docker, depending on the MCP server's
software requirements.
Limitations
There are a few important limitations to Android Studio's MCP integration:
- MCP servers must implement the stdio transport.
- Support for the Streaming HTTP transport, as well as MCP resources and prompt templates, aren't yet supported.
How the agent works
In Agent mode, your prompt is sent to the Gemini API with a list of tools that are available. You can think of tools as skills: they include the ability to search for files, read files, search the text within files, use any MCP servers you have configured, and more.
When you give the agent a task, it comes up with a plan and figures out which tools are needed. Some of these tools might need you to grant permission before the agent can use them. Once you grant permission, the agent uses the tool to perform the necessary action and sends the result back to the Gemini API. Gemini processes the result of the action and generates another response. This cycle of action and evaluation continues until the task is complete.