
Relay consists of three parts, each of which must be installed separately:
- Relay for Figma Plugin
- Relay for Android Studio Plugin
- Relay Gradle Plugin
Prerequisites
- You must be signed into a Figma Account.
- You have installed Android Studio 2022.2.1 Flamingo or later.
- You have installed the Java Runtime.
- You are using Jetpack Compose version 1.2 or later.
- You are using Gradle Plugin version 8.0 or later.
Install the Relay for Figma plugin
The Relay for Figma plugin allows anyone working in Figma to annotate their designs and share it with developers who use Android Studio and Jetpack Compose.
The Relay for Figma plugin is published to Figma's community plugin marketplace. To install the plugin:
- Go to the Relay for Figma plugin page on Figma's website.
On the top right of the page, click Try it out.

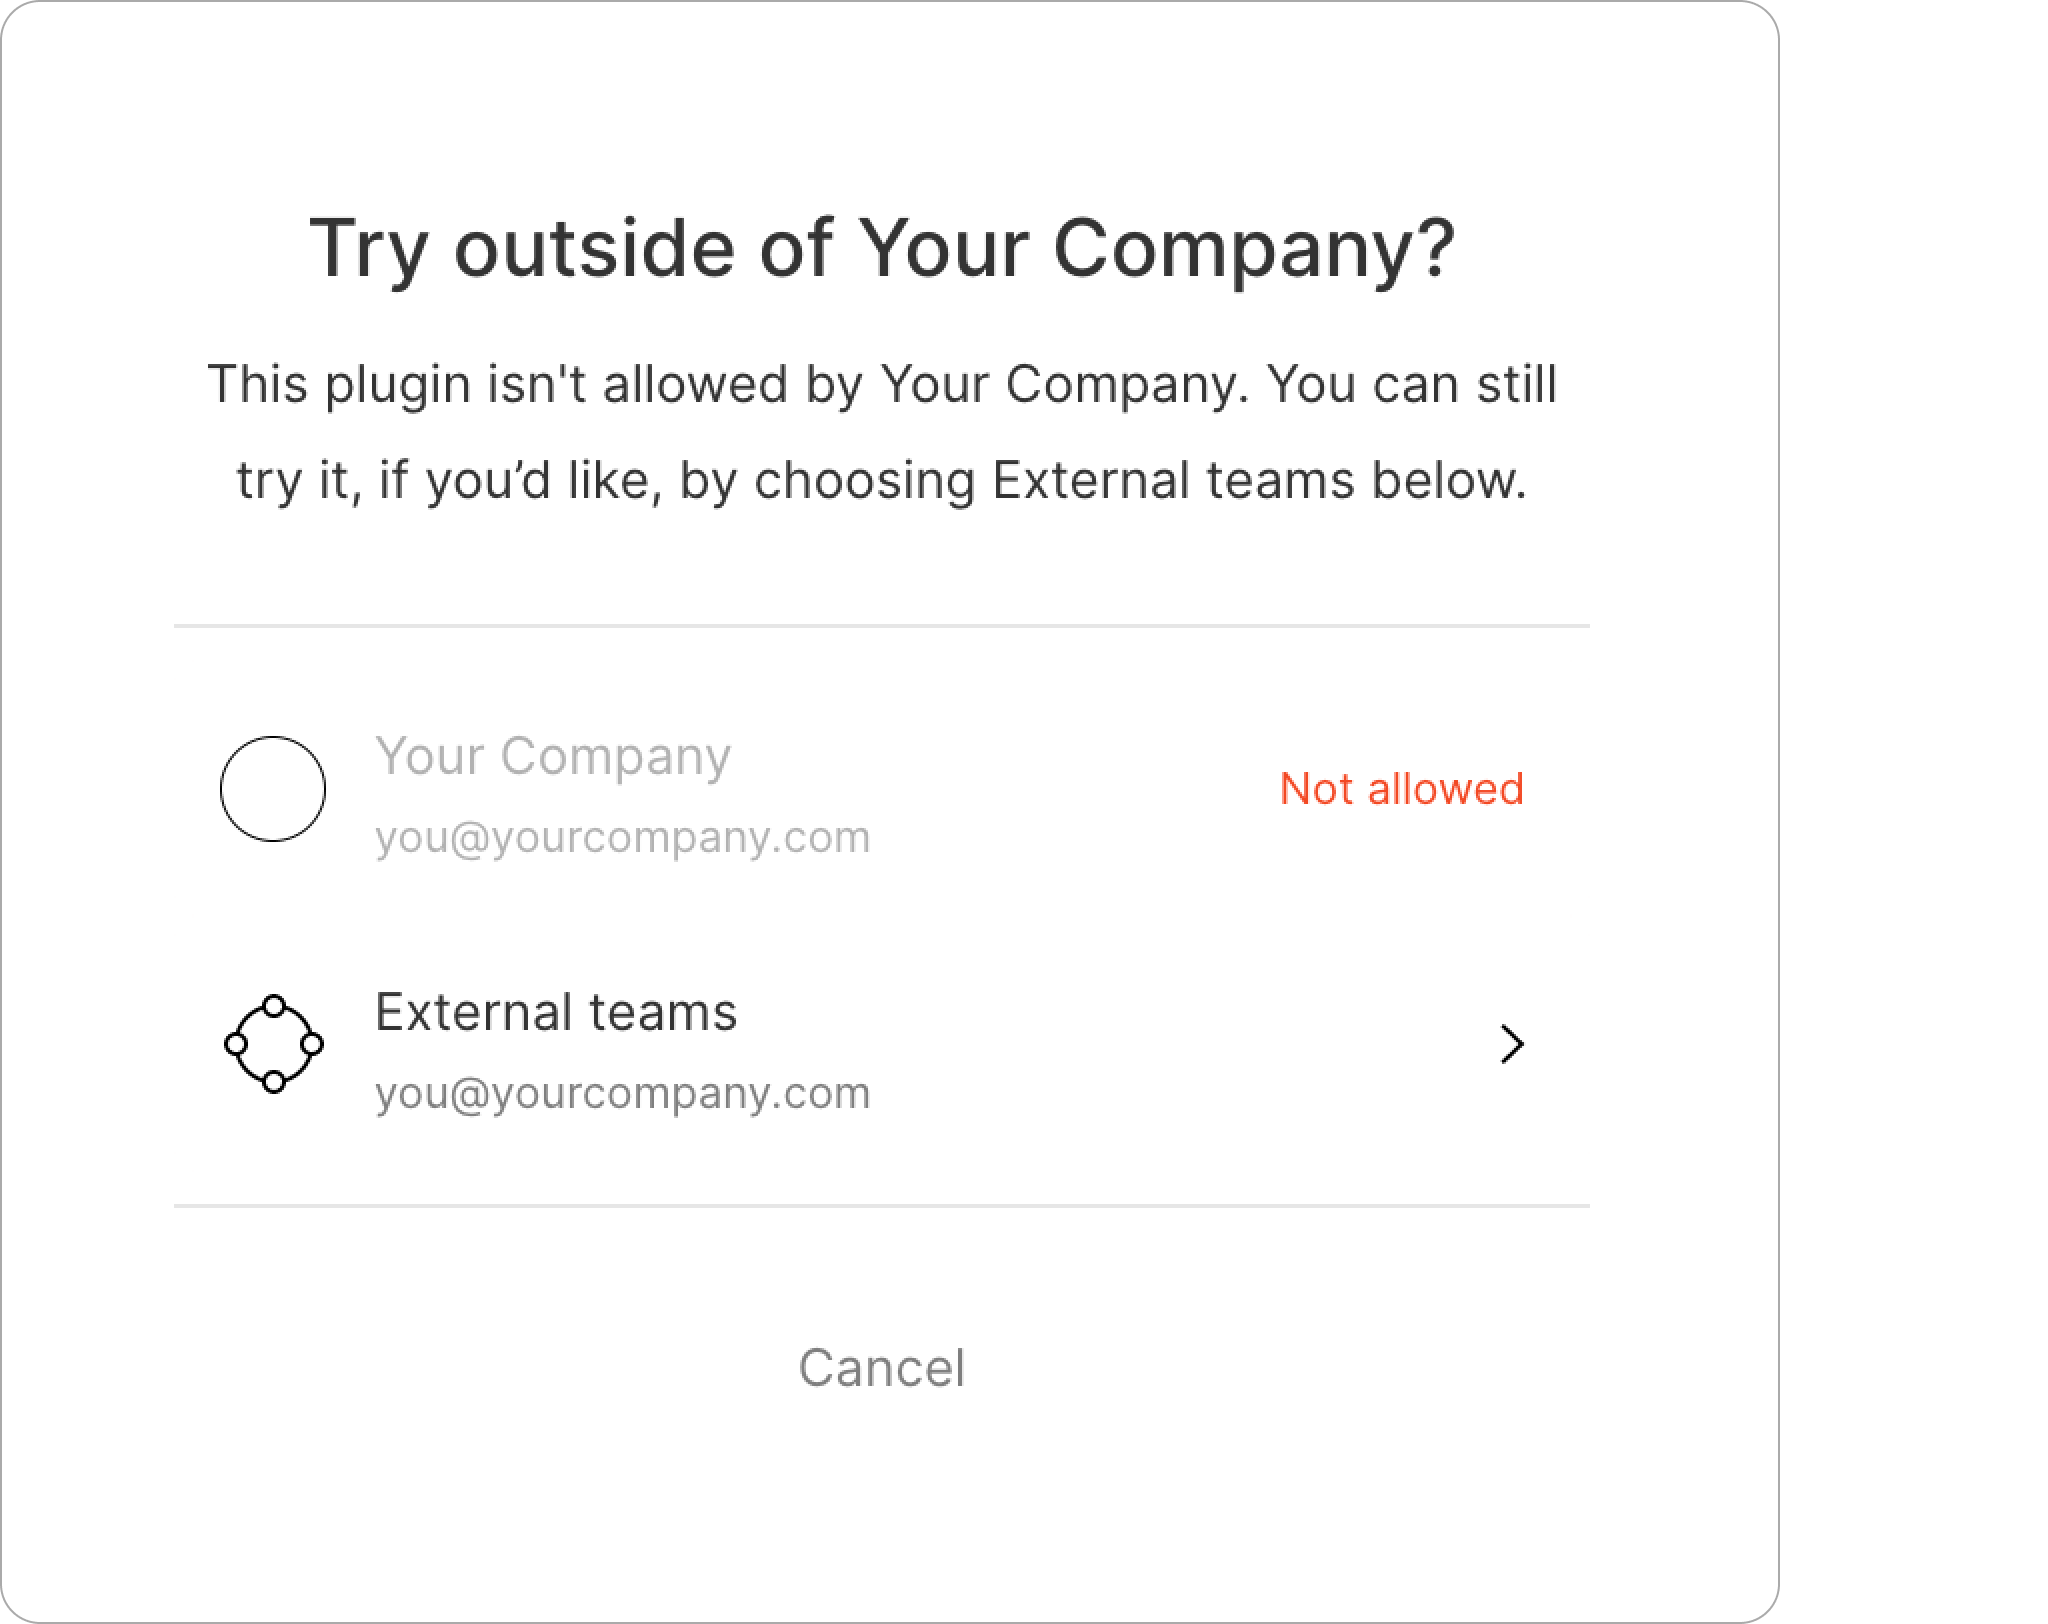
You may encounter a dialog asking if you want to use the plugin. In the dialog, select your organization. In rare cases, your organization may disable public plugins. If so, then select the External teams option.
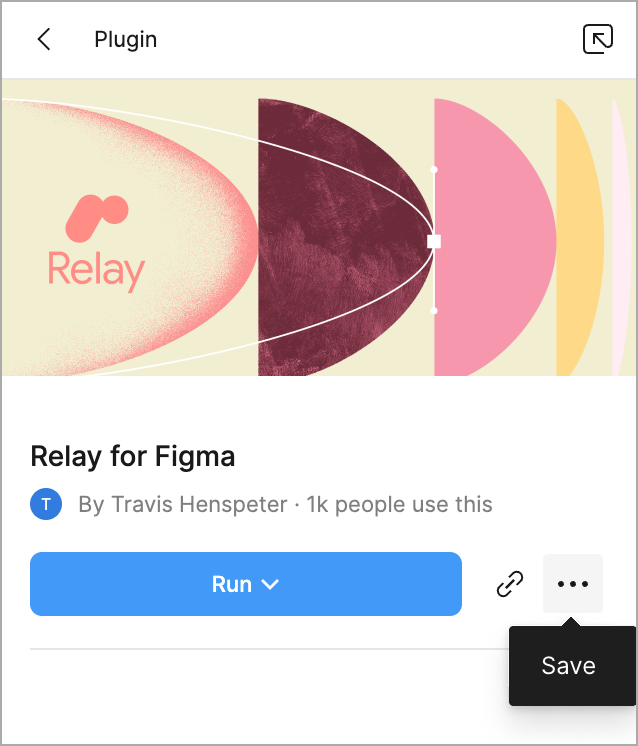
This opens a Figma file with the plugin information page displayed. Click … and select Save to ensure you can easily reuse the plugin.
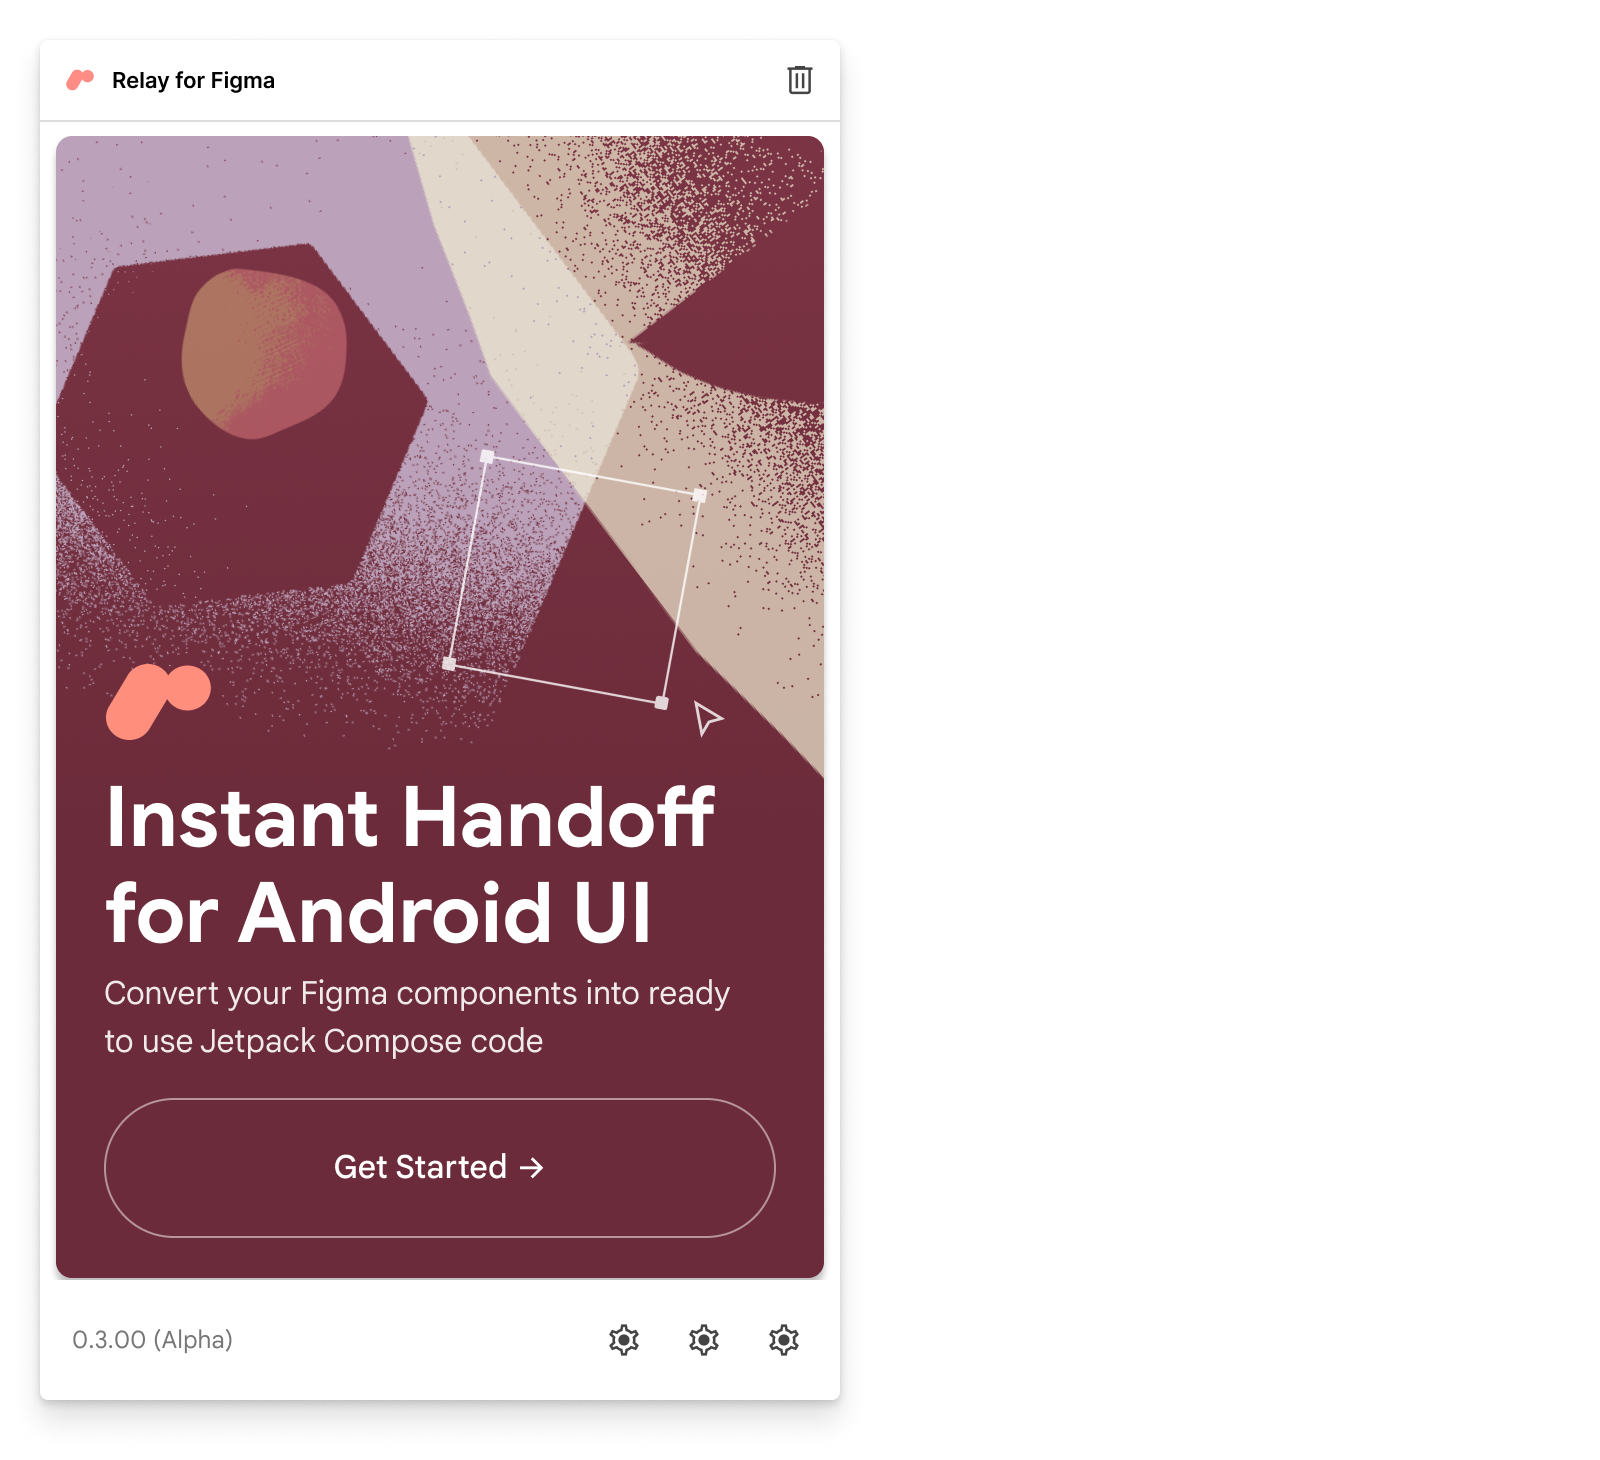
Now, click Run:
You can view the plugin running in the Figma canvas:
Install the Relay for Android Studio plugin
The Relay for Android Studio plugin enables developers working in Android Studio to import designs that have been annotated with design intent information using the Relay for Figma plugin. The plugin is published to the Android Studio Plugin Marketplace. To install:
- Open Android Studio.
- From the main menu:
- For macOS, select Android Studio > Preferences.
- For Windows and Linux, select File > Settings.
- Select Plugins.
Select the Marketplace tab, search for: “Relay for Android Studio”, and select the plugin published by Google:
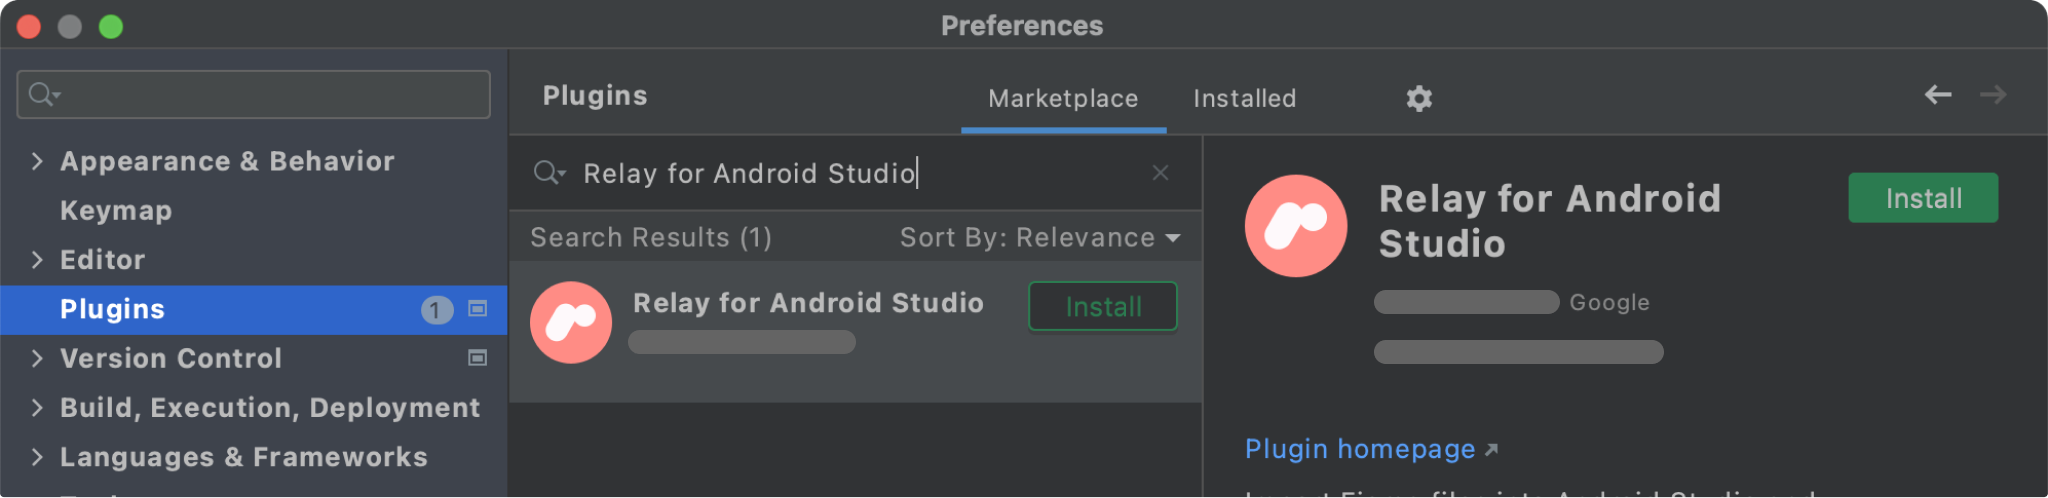
Click Install.
When the installation is complete, click Restart IDE.
To confirm that the installation succeeded, open Preferences or Settings, then go to Plugins. You should see Relay for Android Studio listed in the Installed section.
Install the Relay Gradle plugin
The Relay Gradle plugin ensures that designs in Figma annotated with design intent information using the Relay for Figma plugin are correctly converted to code during a build.
The Relay Gradle plugin is published to Google Maven, a server that contains many Gradle plugins. Android Studio invokes Gradle operations by default, and those operations include downloading and installing any dependencies that your project references.
To ensure that Android Studio, and by extension Gradle itself, downloads and
installs the Relay Gradle plugin, you need to specify the plugin as a dependency
in your project, specifically in the build.gradle file in your module’s
directory. This is usually in app/build.gradle.
At the top of the app/build.gradle file is a section listing all of the
plugins in use. Add the Relay Gradle plugin in this list, and Gradle handles
downloading and installing it. For example:
plugins {
    id 'com.android.application'
    id 'kotlin-android'
    id 'com.google.relay' version '0.3.12'
}
Also, make sure your settings.gradle file has the following section:
pluginManagement {
    repositories {
        gradlePluginPortal()
        google()
        mavenCentral()
    }
}
You can also use a Pre-Configured Project, which includes the configuration noted above.
Setup Figma access
Relay requires a Figma personal access token so that it can download your Figma designs and convert them to code. If you don’t already have one:
- Open Figma and log into Figma.
- Go to the file browser .
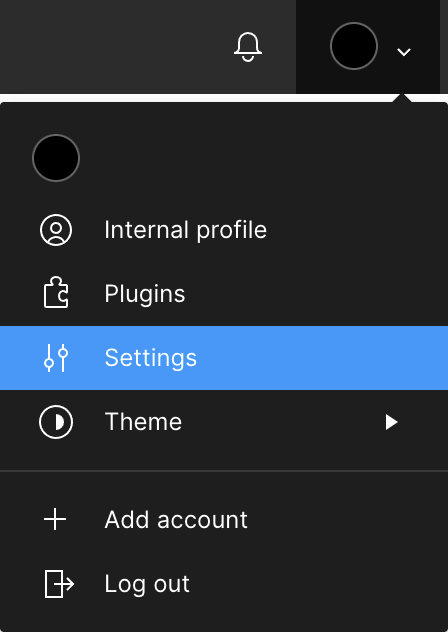
Click your account icon and select Settings.
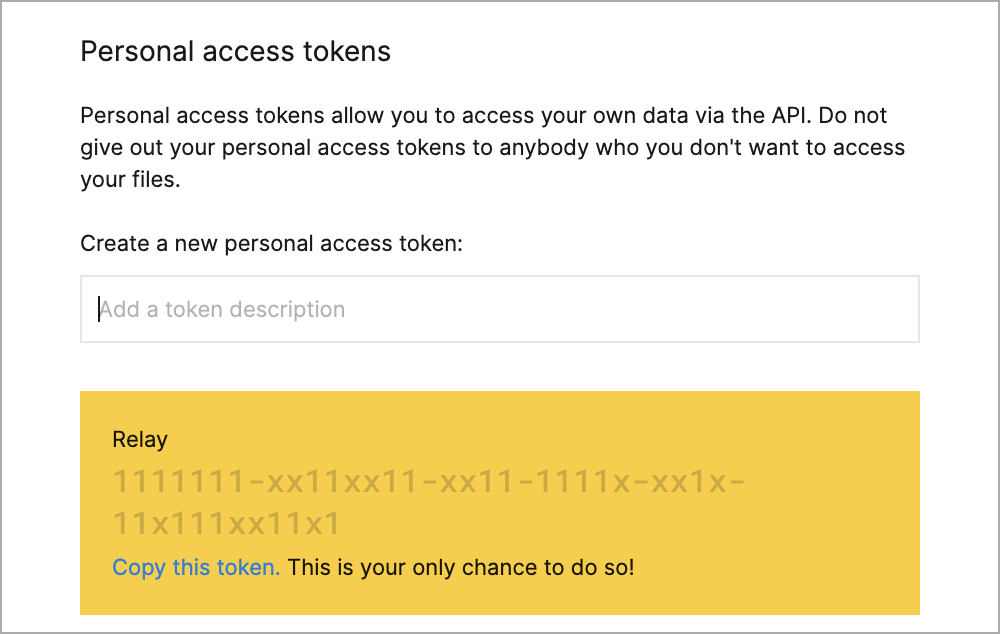
Scroll down to the Personal access tokens section.
Enter a token description, for example, “Relay” and type Return. A token is generated. Click Copy this token.
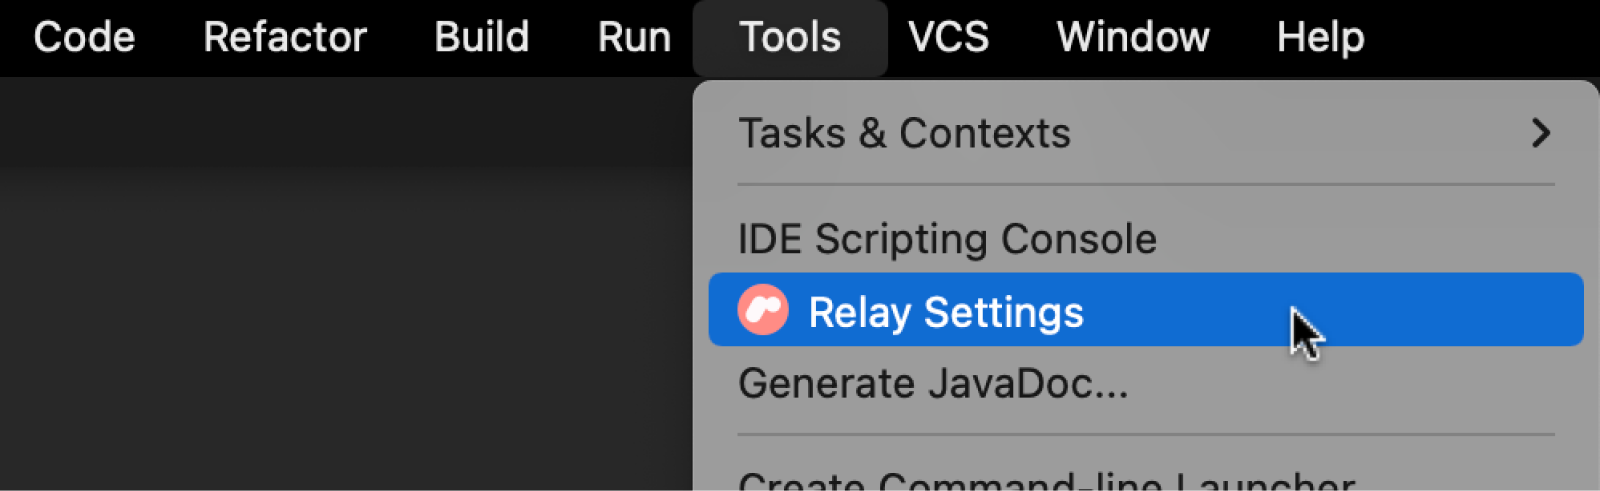
In Android Studio, from the main menu, select Tools > Relay Settings.
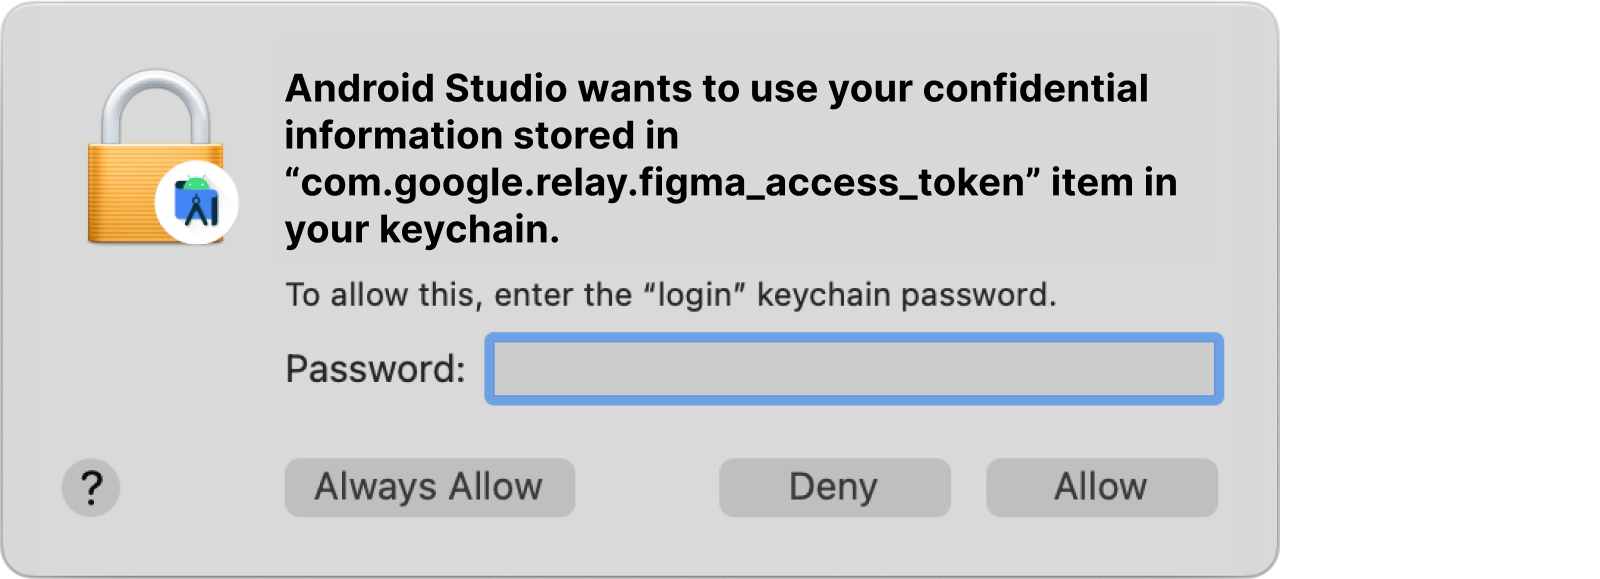
If you have previously set up a Figma access token on macOS, you may see the following dialog. This dialog lets you know that Android Studio is using your existing Figma access token. Enter your password, and click Always Allow.
Paste your Figma access token into the Figma Access Token input. (If this is not your first time setting up a Figma access token, you may see an Existing Figma Access Token input.)
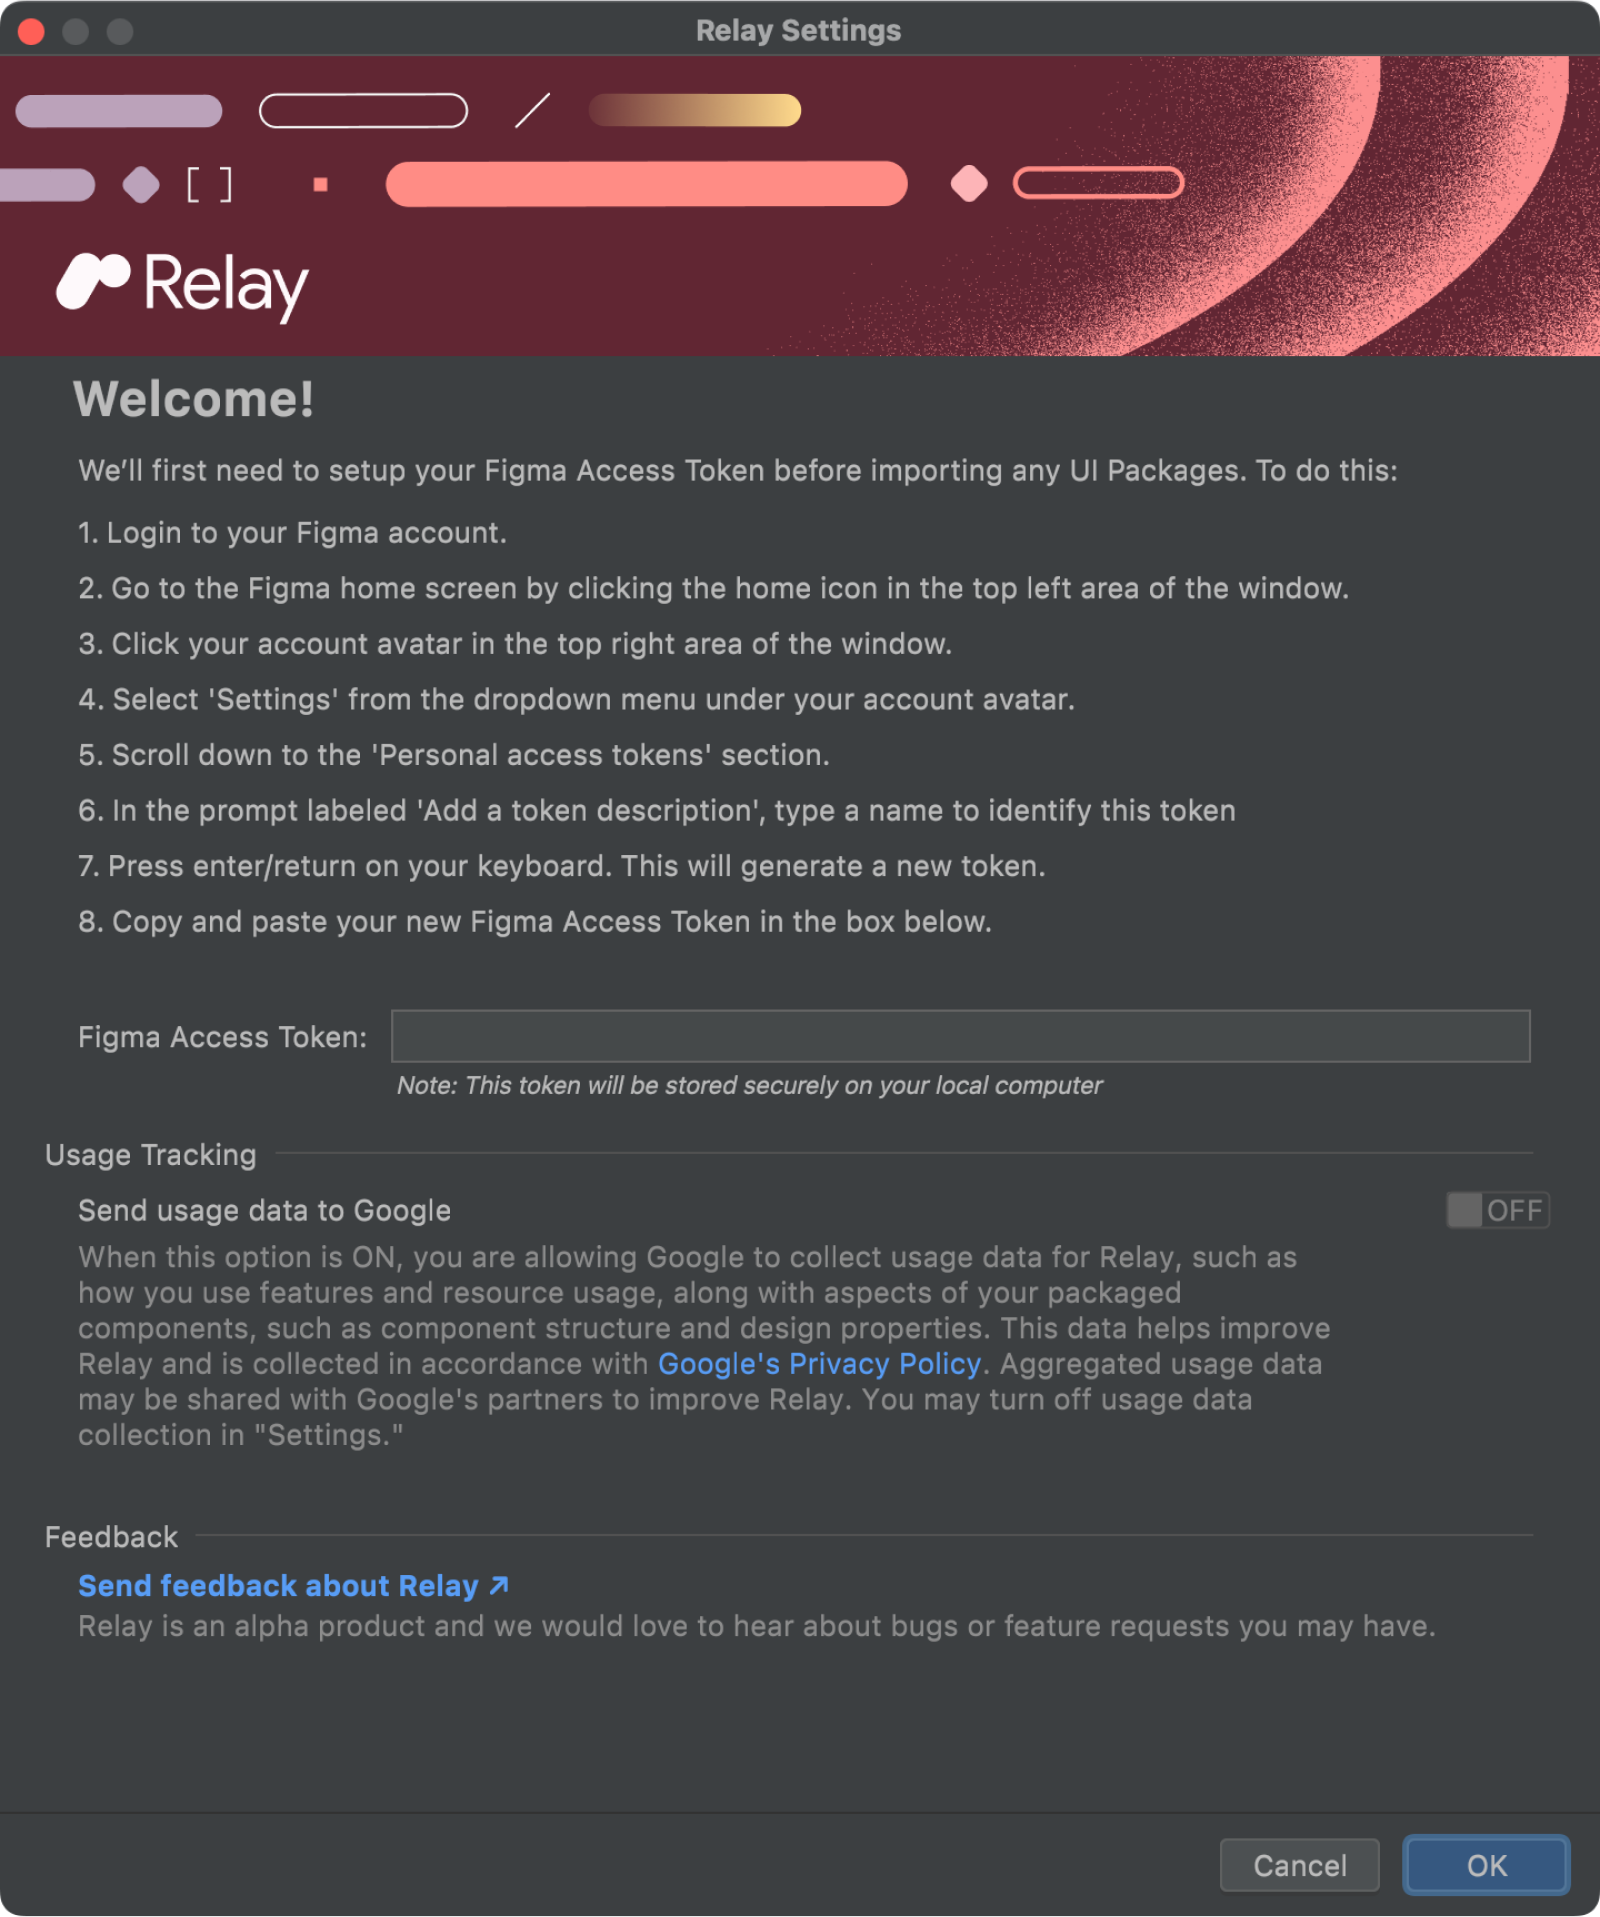
Click OK.
Download and setup the pre-configured project
To download and setup a pre-configured project:
- Download the project ZIP file.
- Double-click the file to unzip it, which creates a folder called HelloFigma. Move it to your home folder..
- Go back to Android Studio. Go to File > Open, navigate to your home folder, select HelloFigma, and click Open.
- When you open the project, Android Studio may ask you if you trust the project. Click Trust Project.
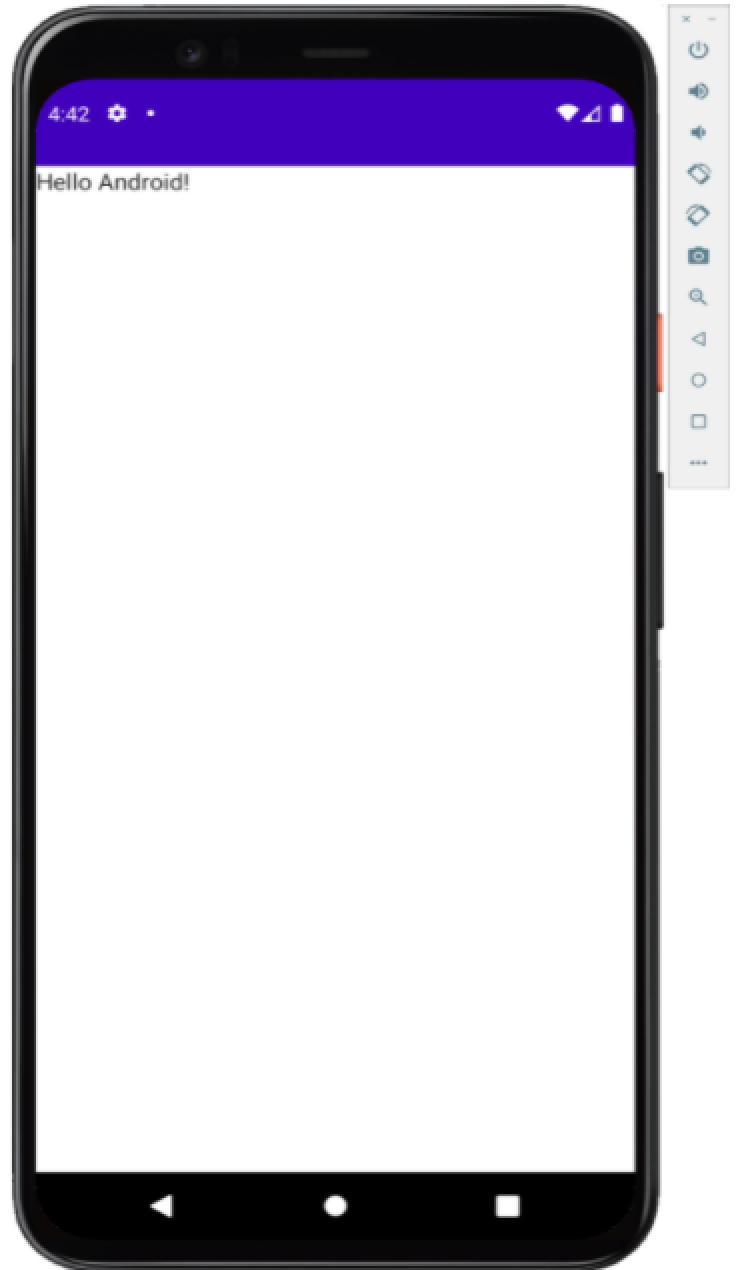
Running the pre-configured project
Run the app on an emulator or device. You should see "Hello, Android!" in a blank screen.
Next step
Now we're ready to create our first designs using Relay.
Recommended for you
- Note: link text is displayed when JavaScript is off
- Set up your Android project
- Testing your Compose layout
- Where to hoist state