אתם יכולים להוסיף ממשק משתמש מבוסס-Compose לאפליקציה קיימת שמבוססת על עיצוב מבוסס-View.
כדי ליצור מסך חדש שמבוסס כולו על Compose, צריך להגדיר את הפעילות כך שתקרא ל-method setContent(), ולהעביר את כל הפונקציות הניתנות להגדרה שרוצים.
class ExampleActivity : ComponentActivity() { override fun onCreate(savedInstanceState: Bundle?) { super.onCreate(savedInstanceState) setContent { // In here, we can call composables! MaterialTheme { Greeting(name = "compose") } } } } @Composable fun Greeting(name: String) { Text(text = "Hello $name!") }
הקוד הזה נראה בדיוק כמו הקוד שמופיע באפליקציה שמבוססת רק על Compose.
ViewCompositionStrategy למשך ComposeView
ViewCompositionStrategy
מגדיר מתי צריך להסיר את הקומפוזיציה. ברירת המחדל, ViewCompositionStrategy.Default, היא שהאובייקט Composition מושמד כשהאובייקט הבסיסי ComposeView מתנתק מהחלון, אלא אם הוא חלק מקונטיינר של מאגרים כמו RecyclerView. באפליקציה עם Activity יחיד שכוללת רק קוד Compose, התנהגות ברירת המחדל הזו היא מה שרוצים. עם זאת, אם מוסיפים קוד Compose באופן מצטבר בבסיס הקוד, ההתנהגות הזו עלולה לגרום לאובדן מצב בתרחישים מסוימים.
כדי לשנות את ViewCompositionStrategy, מתקשרים לשיטה setViewCompositionStrategy() ומספקים שיטה אחרת.
בטבלה הבאה מפורטים התרחישים השונים שבהם אפשר להשתמש ב-ViewCompositionStrategy:
ViewCompositionStrategy |
תיאור ותרחיש פעולה הדדית |
|---|---|
DisposeOnDetachedFromWindow |
האובייקט Composition יושמד כשהאובייקט ComposeView הבסיסי ינותק מהחלון. הוחלף מאז ב-DisposeOnDetachedFromWindowOrReleasedFromPool.תרחיש יכולת פעולה הדדית: * ComposeView אם זה הרכיב היחיד בהיררכיית תצוגות, או בהקשר של מסך מעורב של View/פיתוח נייטיב (לא במקטע (fragment)). |
DisposeOnDetachedFromWindowOrReleasedFromPool (ברירת מחדל) |
בדומה ל-DisposeOnDetachedFromWindow, כשהקומפוזיציה לא נמצאת במאגר משותף, כמו RecyclerView. אם הוא נמצא במאגר, הוא יוסר כשהמאגר עצמו ינותק מהחלון או כשהפריט יימחק (כלומר כשהמאגר מלא).תרחיש פעולה הדדית: * ComposeView אם זה הרכיב היחיד בהיררכיית התצוגה, או בהקשר של מסך מעורב של View/Compose (לא ב-Fragment).* ComposeView כפריט בקונטיינר של מאגר, כמו RecyclerView. |
DisposeOnLifecycleDestroyed |
הקומפוזיציה תבוטל כשה-Lifecycle שסופק ייהרס.תרחיש פעולה הדדית * ComposeView בתצוגה של Fragment. |
DisposeOnViewTreeLifecycleDestroyed |
האובייקט Composition יושמד כשהאובייקט Lifecycle שבבעלות LifecycleOwner שמוחזר על ידי ViewTreeLifecycleOwner.get של החלון הבא שאליו מצורף האובייקט View יושמד.תרחיש יכולת פעולה הדדית: * ComposeView באובייקט View של מקטע (fragment).* ComposeView בתצוגה שבה מחזור החיים עדיין לא ידוע. |
ComposeView Fragments (שלב מעבר)
אם רוצים לשלב תוכן של ממשק משתמש בפיתוח נייטיב במקטע או בפריסת View קיימת, משתמשים ב-ComposeView וקוראים לשיטה setContent() שלו. ComposeView הוא View של Android.
אפשר להוסיף את ComposeView לפריסת ה-XML כמו כל View אחר:
<LinearLayout xmlns:android="http://schemas.android.com/apk/res/android" android:orientation="vertical" android:layout_width="match_parent" android:layout_height="match_parent"> <TextView android:id="@+id/text" android:layout_width="wrap_content" android:layout_height="wrap_content" /> <androidx.compose.ui.platform.ComposeView android:id="@+id/compose_view" android:layout_width="match_parent" android:layout_height="match_parent" /> </LinearLayout>
בקוד המקור של Kotlin, מנפחים את פריסת הרכיבים ממשאב הפריסה שמוגדר ב-XML. לאחר מכן מקבלים את ComposeView באמצעות מזהה ה-XML, מגדירים אסטרטגיית קומפוזיציה שהכי מתאימה למארח View ושולחים קריאה ל-setContent() כדי להשתמש ב-Compose.
class ExampleFragmentXml : Fragment() { override fun onCreateView( inflater: LayoutInflater, container: ViewGroup?, savedInstanceState: Bundle? ): View { val view = inflater.inflate(R.layout.fragment_example, container, false) val composeView = view.findViewById<ComposeView>(R.id.compose_view) composeView.apply { // Dispose of the Composition when the view's LifecycleOwner // is destroyed setViewCompositionStrategy(ViewCompositionStrategy.DisposeOnViewTreeLifecycleDestroyed) setContent { // In Compose world MaterialTheme { Text("Hello Compose!") } } } return view } }
אפשר גם להשתמש ב-view binding כדי לקבל הפניות ל-ComposeView על ידי הפניה למחלקת ה-binding שנוצרה עבור קובץ פריסת ה-XML:
class ExampleFragment : Fragment() { private var _binding: FragmentExampleBinding? = null // This property is only valid between onCreateView and onDestroyView. private val binding get() = _binding!! override fun onCreateView( inflater: LayoutInflater, container: ViewGroup?, savedInstanceState: Bundle? ): View { _binding = FragmentExampleBinding.inflate(inflater, container, false) val view = binding.root binding.composeView.apply { // Dispose of the Composition when the view's LifecycleOwner // is destroyed setViewCompositionStrategy(ViewCompositionStrategy.DisposeOnViewTreeLifecycleDestroyed) setContent { // In Compose world MaterialTheme { Text("Hello Compose!") } } } return view } override fun onDestroyView() { super.onDestroyView() _binding = null } }
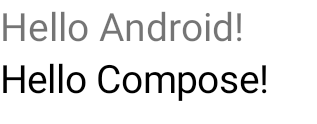
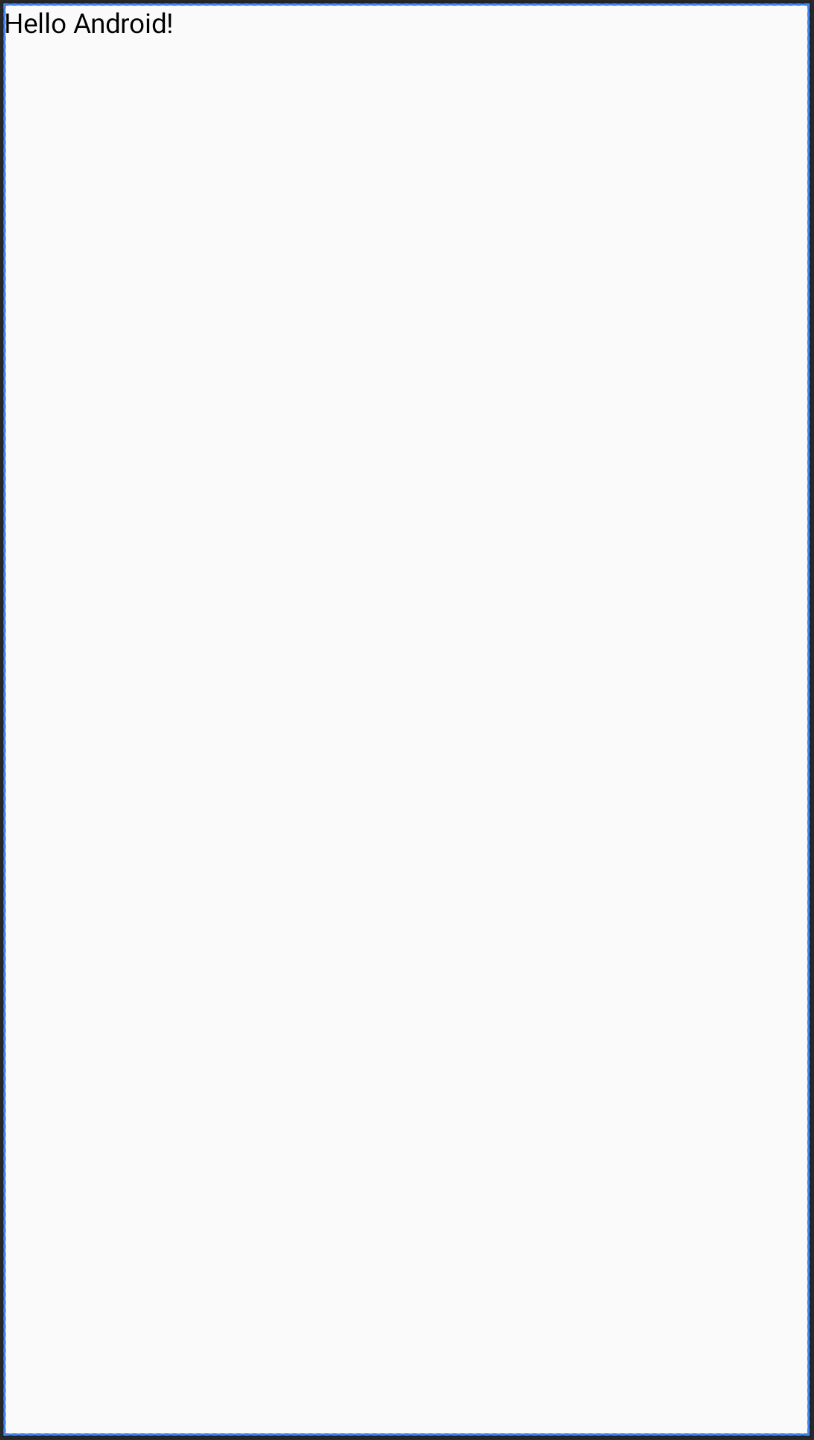
איור 1. התמונה מציגה את הפלט של הקוד שמוסיף רכיבי Compose בהיררכיית ממשק המשתמש של View. הטקסט Hello Android! מוצג על ידי ווידג'ט TextView. הטקסט Hello Compose! מוצג על ידי רכיב טקסט של Compose.
אפשר גם לכלול ComposeView ישירות ב-fragment אם המסך המלא בנוי באמצעות Compose, וכך להימנע לחלוטין משימוש בקובץ פריסה בפורמט XML.
class ExampleFragmentNoXml : Fragment() { override fun onCreateView( inflater: LayoutInflater, container: ViewGroup?, savedInstanceState: Bundle? ): View { return ComposeView(requireContext()).apply { // Dispose of the Composition when the view's LifecycleOwner // is destroyed setViewCompositionStrategy(ViewCompositionStrategy.DisposeOnViewTreeLifecycleDestroyed) setContent { MaterialTheme { // In Compose world Text("Hello Compose!") } } } } }
כמה מופעים של ComposeView באותו פריסת מסך
אם יש כמה רכיבי ComposeView באותו פריסה, לכל אחד מהם צריך להיות מזהה ייחודי כדי שרכיב savedInstanceState יפעל.
class ExampleFragmentMultipleComposeView : Fragment() { override fun onCreateView( inflater: LayoutInflater, container: ViewGroup?, savedInstanceState: Bundle? ): View = LinearLayout(requireContext()).apply { addView( ComposeView(requireContext()).apply { setViewCompositionStrategy( ViewCompositionStrategy.DisposeOnViewTreeLifecycleDestroyed ) id = R.id.compose_view_x // ... } ) addView(TextView(requireContext())) addView( ComposeView(requireContext()).apply { setViewCompositionStrategy( ViewCompositionStrategy.DisposeOnViewTreeLifecycleDestroyed ) id = R.id.compose_view_y // ... } ) } }
המזהים ComposeView מוגדרים בקובץ res/values/ids.xml:
<resources> <item name="compose_view_x" type="id" /> <item name="compose_view_y" type="id" /> </resources>
תצוגה מקדימה של קומפוזיציות ב-Layout Editor
אפשר גם לראות תצוגה מקדימה של רכיבי Composable בתוך Layout Editor עבור פריסת ה-XML שמכילה ComposeView. כך תוכלו לראות איך רכיבי ה-Composable נראים בפריסה משולבת של Views ופיתוח נייטיב.
נניח שרוצים להציג את הרכיב הבא שאפשר להרכיב בעורך הפריסה. הערה
פונקציות Composable עם ההערה @Preview מתאימות לתצוגה מקדימה בכלי לעריכת פריסות.
@Preview @Composable fun GreetingPreview() { Greeting(name = "Android") }
כדי להציג את הקומפוזבילי הזה, משתמשים במאפיין tools:composableName tools ומגדירים את הערך שלו לשם המוגדר במלואו של הקומפוזבילי כדי לראות תצוגה מקדימה בפריסה.
<LinearLayout xmlns:android="http://schemas.android.com/apk/res/android" xmlns:tools="http://schemas.android.com/tools" android:orientation="vertical" android:layout_width="match_parent" android:layout_height="match_parent"> <androidx.compose.ui.platform.ComposeView android:id="@+id/my_compose_view" tools:composableName="com.example.compose.snippets.interop.InteroperabilityAPIsSnippetsKt.GreetingPreview" android:layout_height="match_parent" android:layout_width="match_parent"/> </LinearLayout>