
To configure the behavior of the FlexBox container, create a FlexBoxConfig
block and supply it using the config parameter.
FlexBox( config = { direction(FlexDirection.Column) wrap(FlexWrap.Wrap) alignItems(FlexAlignItems.Center) alignContent(FlexAlignContent.SpaceAround) justifyContent(FlexJustifyContent.Center) gap(16.dp) } ) { // child items }
Use FlexBoxConfig to define the layout direction, wrapping behavior,
alignment, and gaps between items.
Layout direction
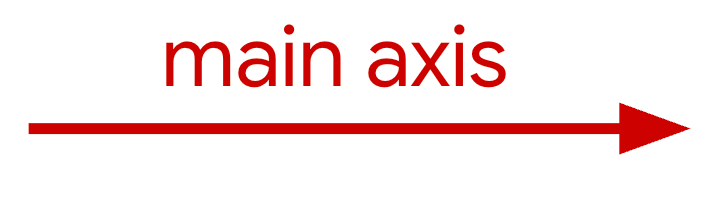
The direction function sets the main axis, which dictates the direction
items are laid out in. It accepts the following values:
Row(default): Sets the main axis to be horizontal. In left-to-right locales this will be left-to-right, with the opposite in right-to-left.RowReverse: Reverses the direction ofRow.Column: Sets the main axis to be vertical, top-to-bottom.ColumnReverse: Reverses the direction ofColumn.
Align items and distribute extra space
The following sections describe how to align items and distribute extra space along the main and cross axes.
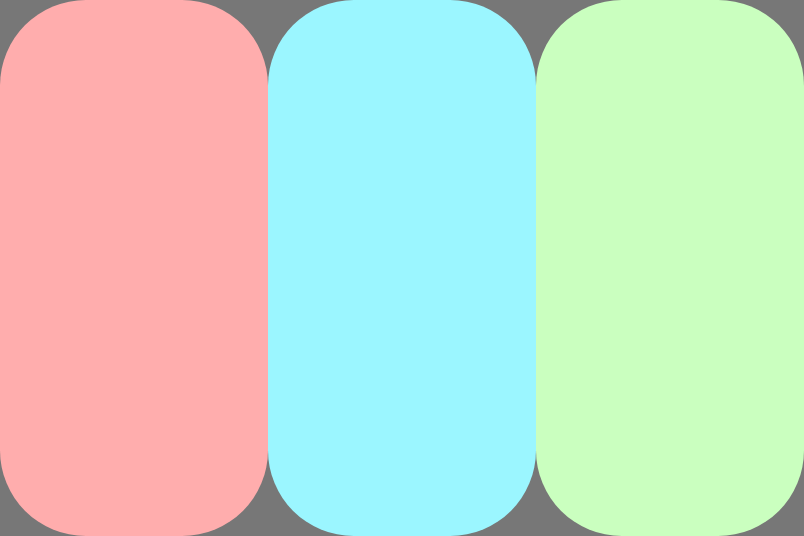
Along the main axis
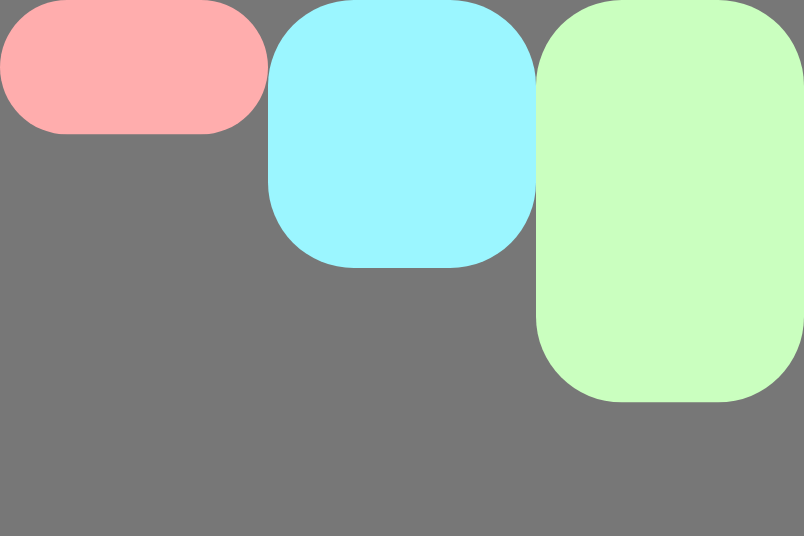
Use justifyContent to distribute items along the main axis. The following
table shows the behavior when the direction is Row.
|
|
|

|
|

|
|

|
|

|
|

|
|

|
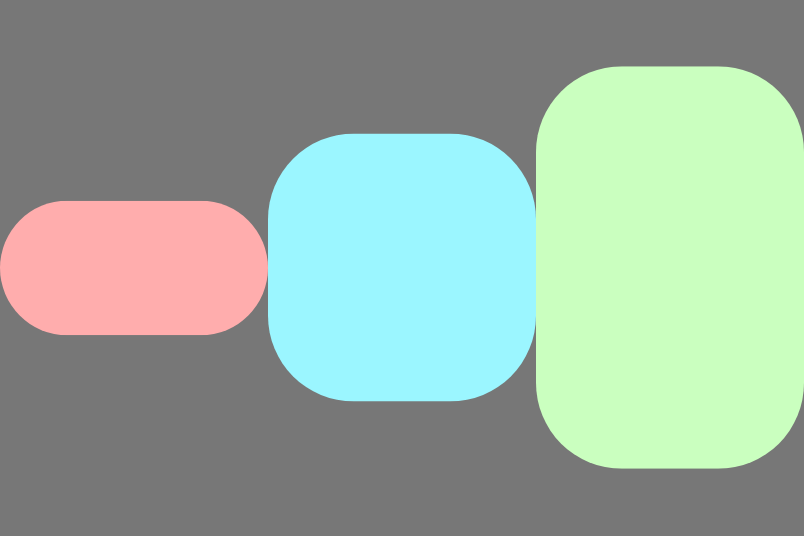
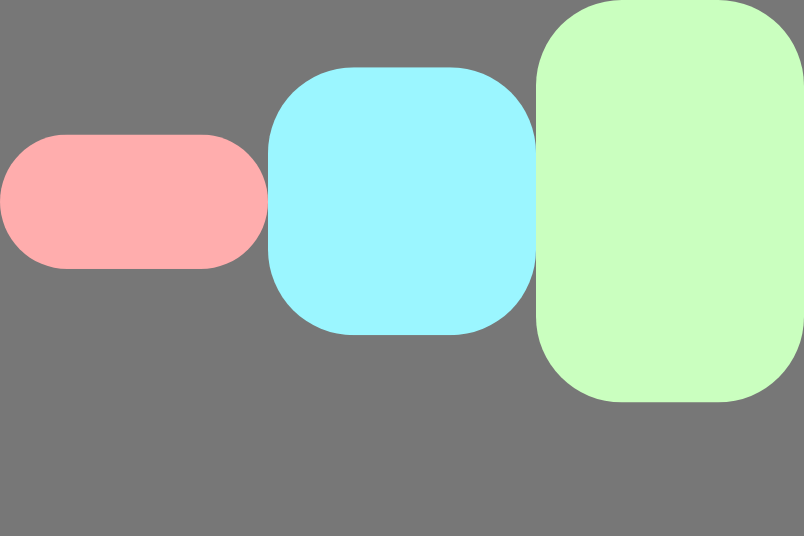
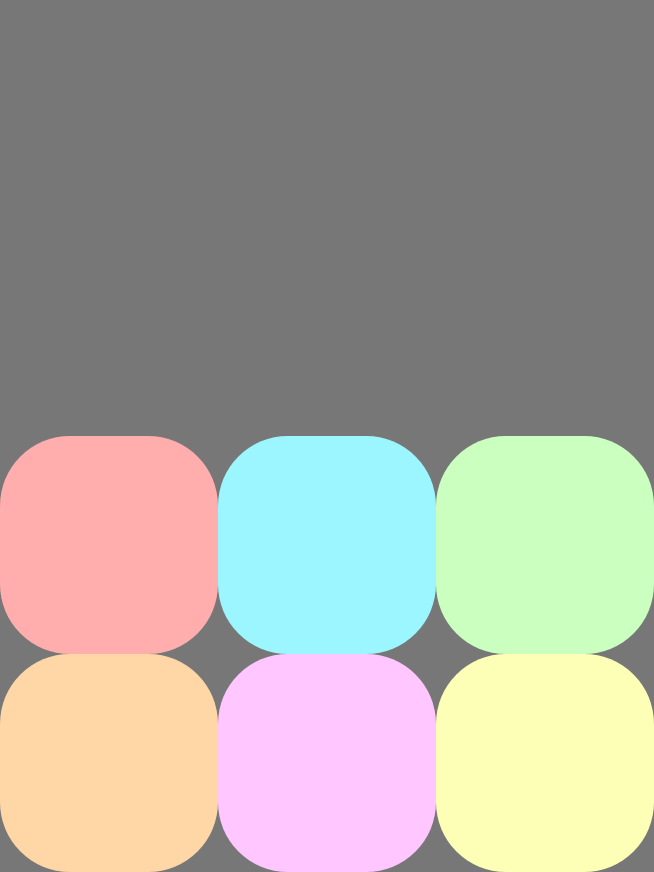
Along the cross axis
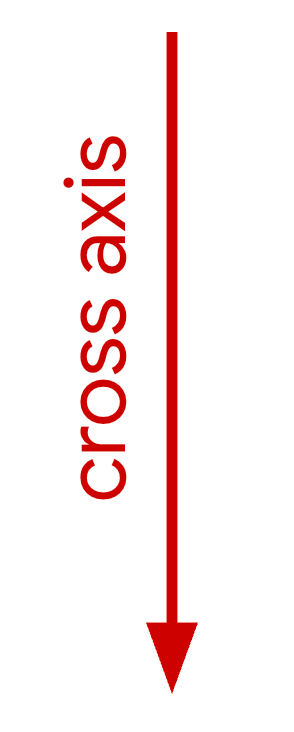
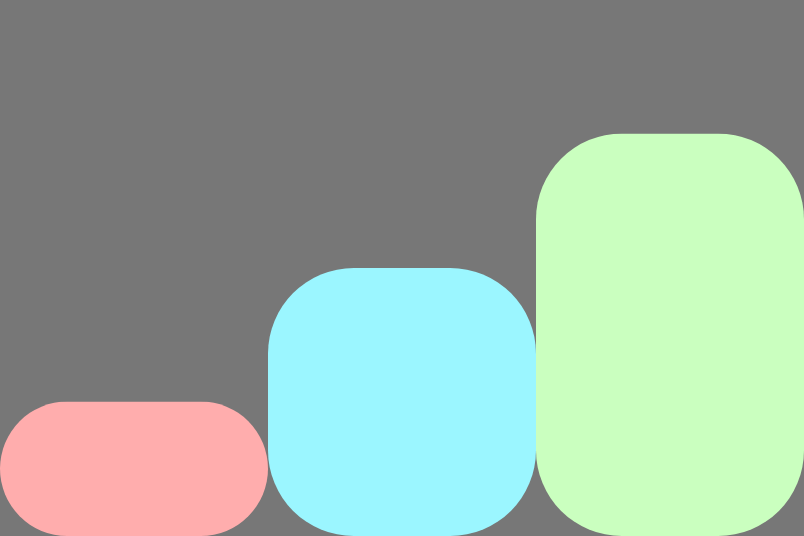
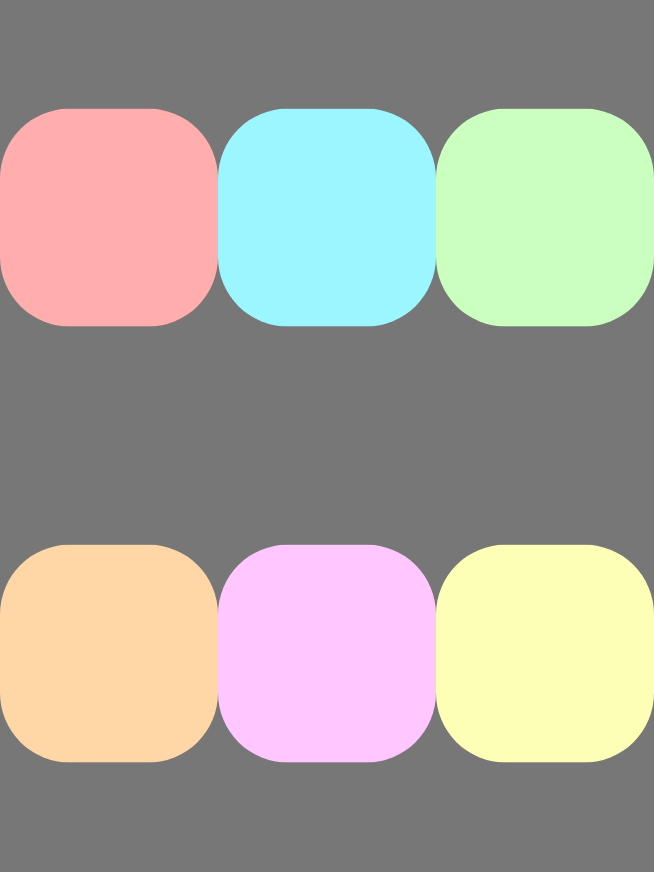
Use alignItems to align items along the cross axis within a single line. This
behavior can be overridden by individual items using the
alignSelf modifier.
The following images show the behavior when the direction is Row:
|
|
|
|
|
|
|
|
|
|
|
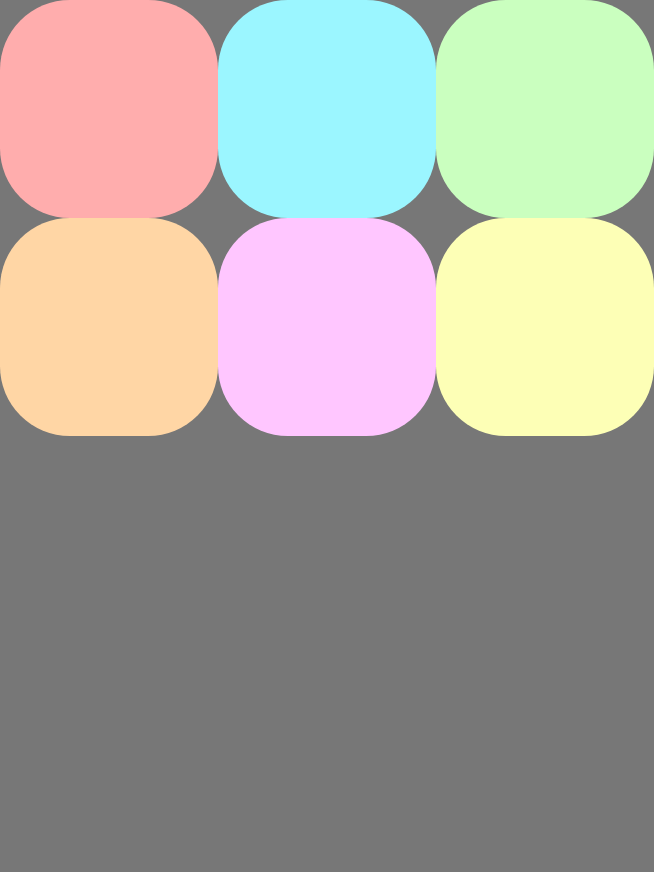
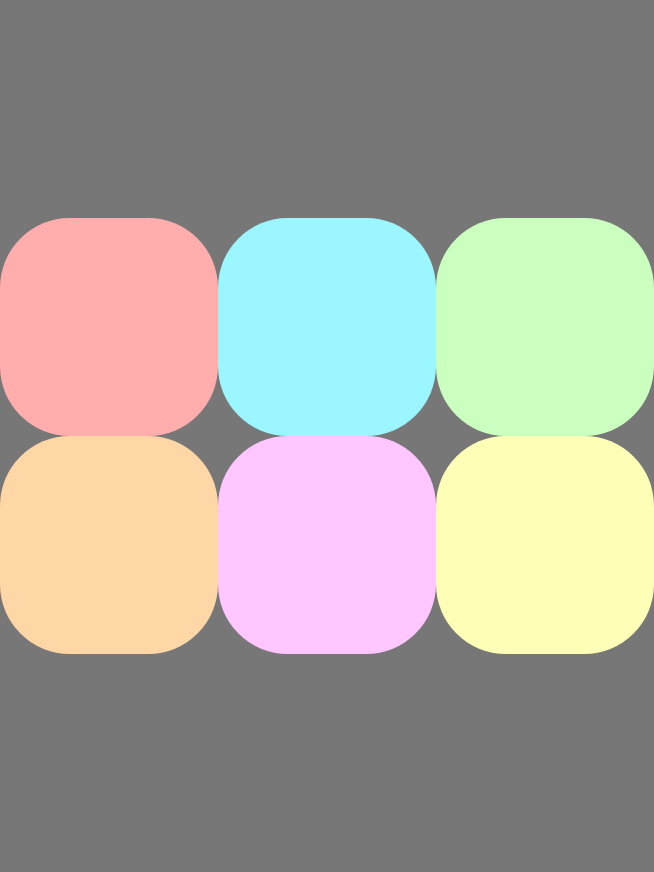
Use alignContent to align lines to the cross axis and to distribute extra
space between lines. This property only applies when there are multiple lines
(wrapping is enabled). The following images show the behavior when the direction
is Row:
|
|
|
|
|
|
|
|
|
|
|
|
|
|
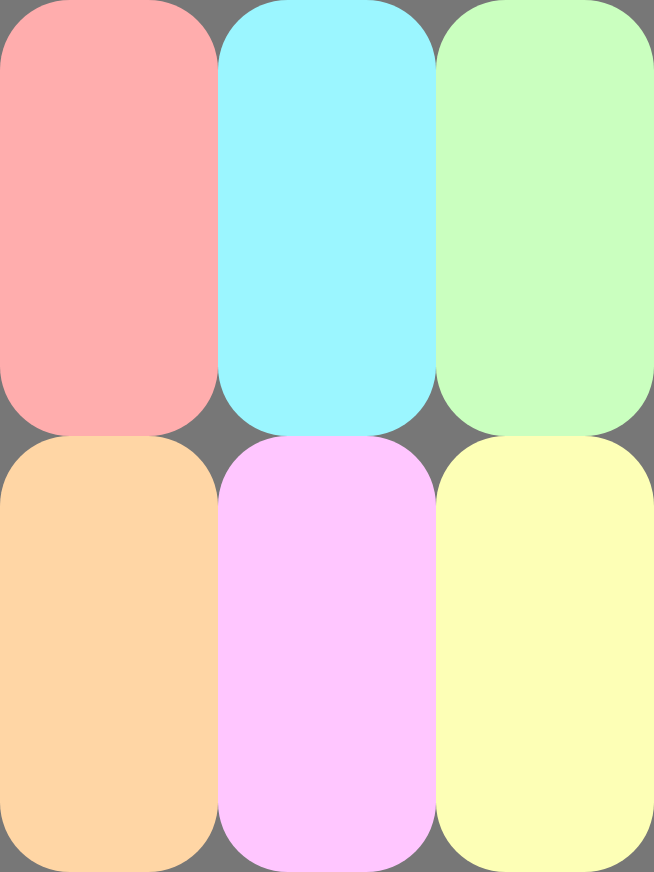
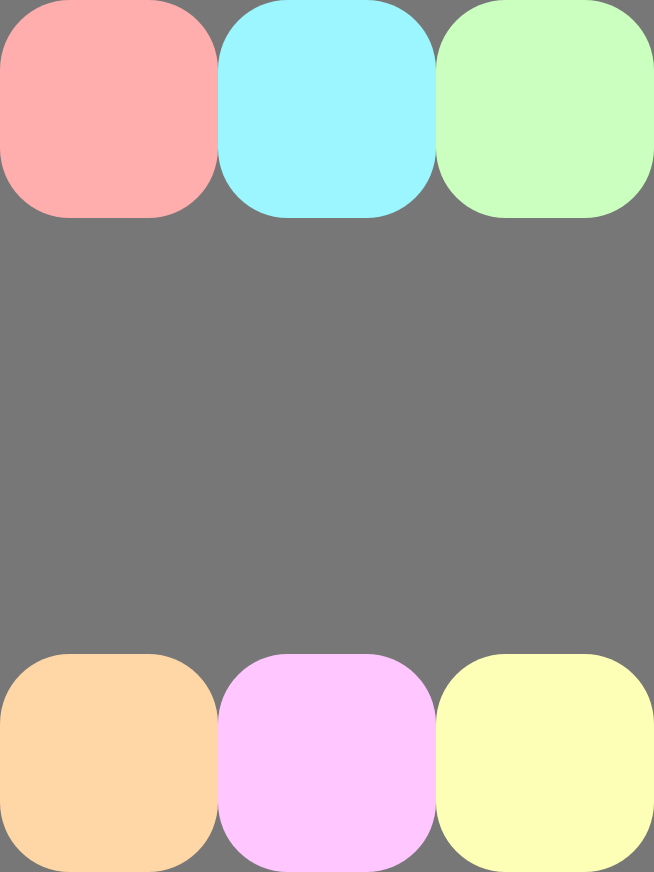
Wrap items
Wrapping lets a FlexBox container become multi-line, moving items that don't
fit onto a new row or column along the cross-axis. Configure wrapping behavior
using wrap.
|
Example using direction |
|
|
|

|
|
|
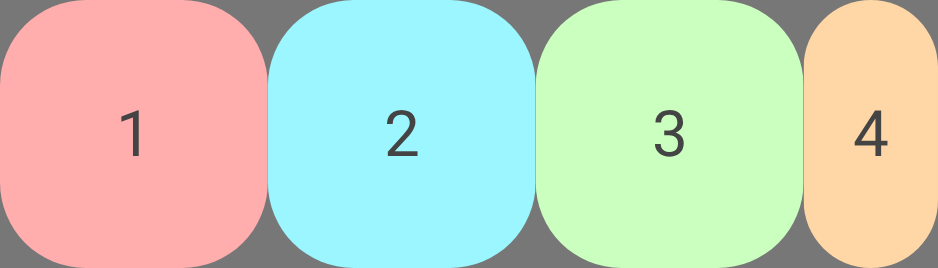
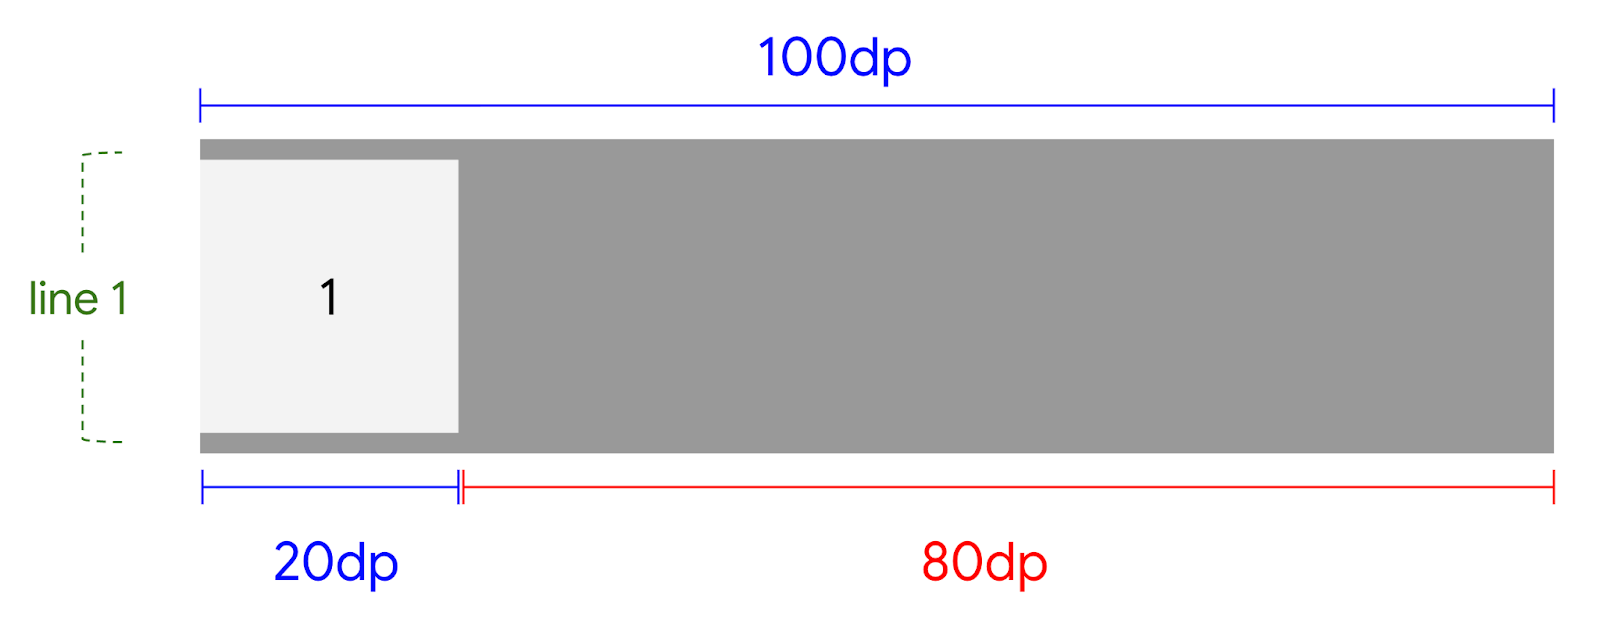
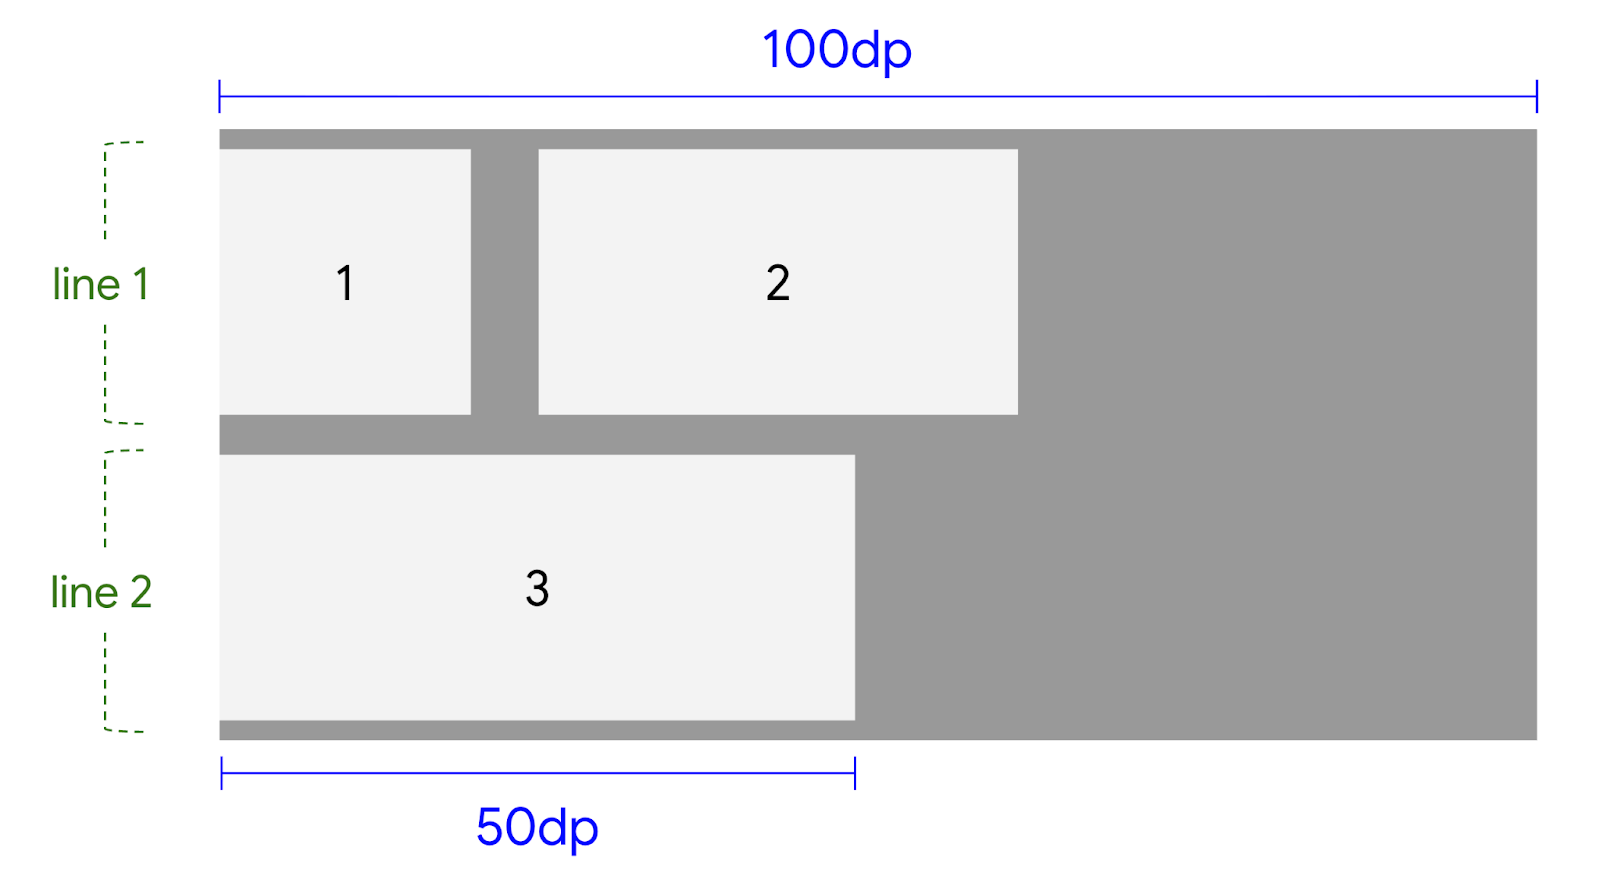
The following example shows how the FlexBox wrapping algorithm works. The
FlexBox container has a main size of 100dp, with wrap set to
FlexWrap.Wrap and a gap of 8dp. It contains three items with basis 20dp,
40dp, and 50dp, respectively.
There is 100dp available space in the line. Child 1 is 20dp.
There is space, so Child 1 is placed into the line.
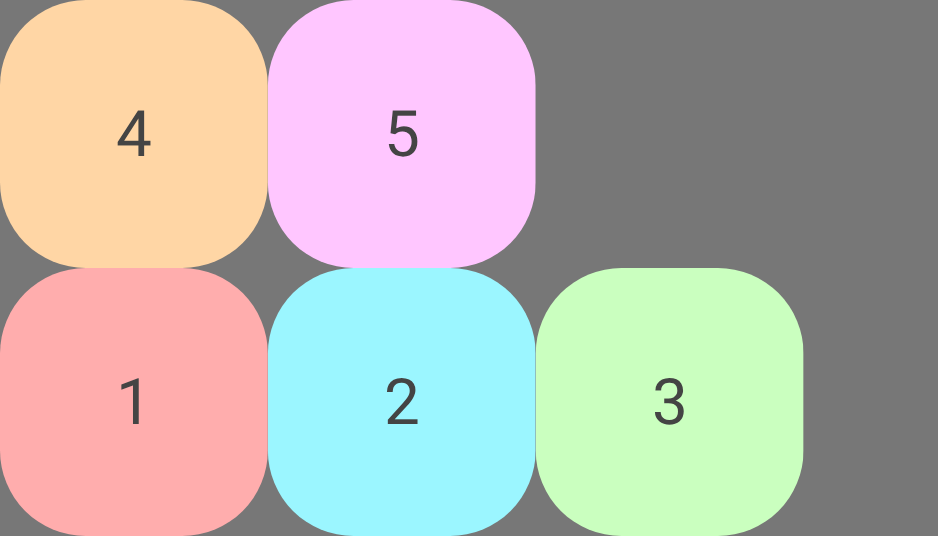
FlexBox container.There is 80dp available space in the line. The gap is 8dp. Child 2 is
40dp. The required space is 48dp. There is space, so the gap and Child 2
are placed into the line.
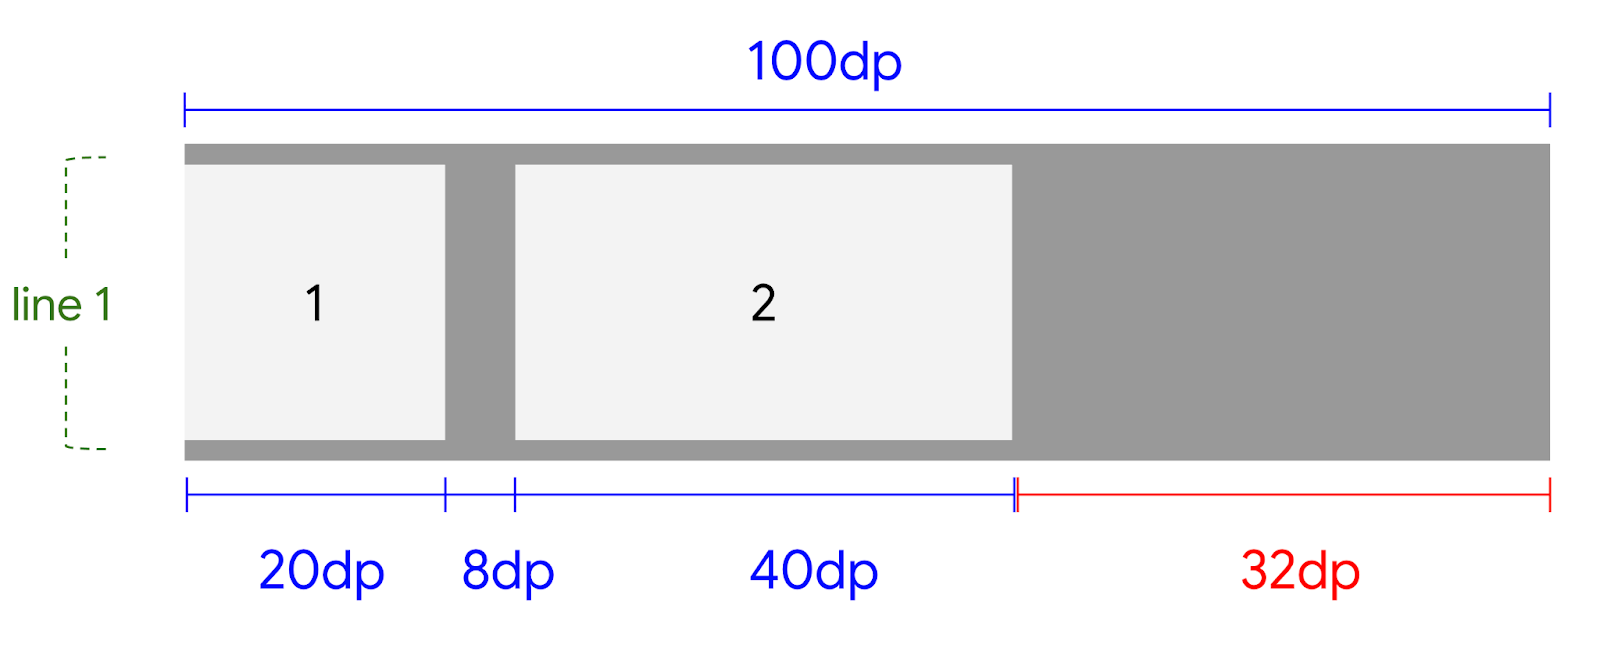
FlexBox container after the first item.There is 32dp available space in the line. The gap is 8dp. Child 3 is
50dp. The required space is 58dp. There is not enough space in the current
line, so Child 3 is placed in a new line.
Add gaps between items
Add gaps between rows and columns using rowGap and columnGap. This is useful
to avoid adding spacing modifiers to children.
|

|
|
adds vertical space between items and lines. |
adds horizontal space between items and lines. |
|