
There may be instances where you will want to view and edit your Play Games Services project directly in Google Cloud.
Typical scenarios include:
- Enabling additional APIs for your project (such as Google Drive).
- Editing the branding information for your game in the OAuth 2.0 dialog.
- Viewing your API quota and requesting more (if necessary).
- Editing authorized URIs or JavaScript origins in Client IDs that you've created in the past.
View your project
To view your project in Google Cloud:
- Select a credential for your game on the Configuration page (Grow users > Play Games Services > Setup and management > Configuration).
- Go to the Authentication section and click View in Google Cloud.
Adjust API usage quotas
In Google Cloud, you can view the API usage limits set up for your game and the amount of quota that has been used. You can also set per-user limits to prevent an abusive user (or a buggy game client) from depleting your quota.
To view or change usage limits for your project, or to request an increase to your quota, do the following:
- If you don't already have a billing account for your project, then create one.
- Visit the Enabled APIs page of the API library in the API Console, and select an API from the list.
- To view and change quota-related settings, select Quotas. To view usage statistics, select Usage.
Be aware that "users" are determined based on the IP address of the client
making the quota request. For example, if all of your requests came from a
single server, that server might be erroneously tagged as a single spammy
user. To prevent this, you can attach a userIp=x.x.x.x argument to your API
endpoint requests.
To learn more about setting per-user quotas, see Capping API usage.
In addition to a per-user limit, there is an application-wide per-day limit for the Google Play Games Services API. Typically, you won't need to change the pre-allocated limit. However, if you anticipate a large spike in volume (for example, for an upcoming launch event), you can request for additional quota by clicking the Request more link.
View OAuth rate limits and new user caps
To view quotas specifically related to OAuth user authorization grant rates and new user caps:
- Navigate to Google Cloud Console.
- Ensure you have the correct project selected.
- Go to APIs & Services > OAuth consent screen.
- On this page, you can view the current user authorization grant rate (or token grant rate) and the total new user cap.
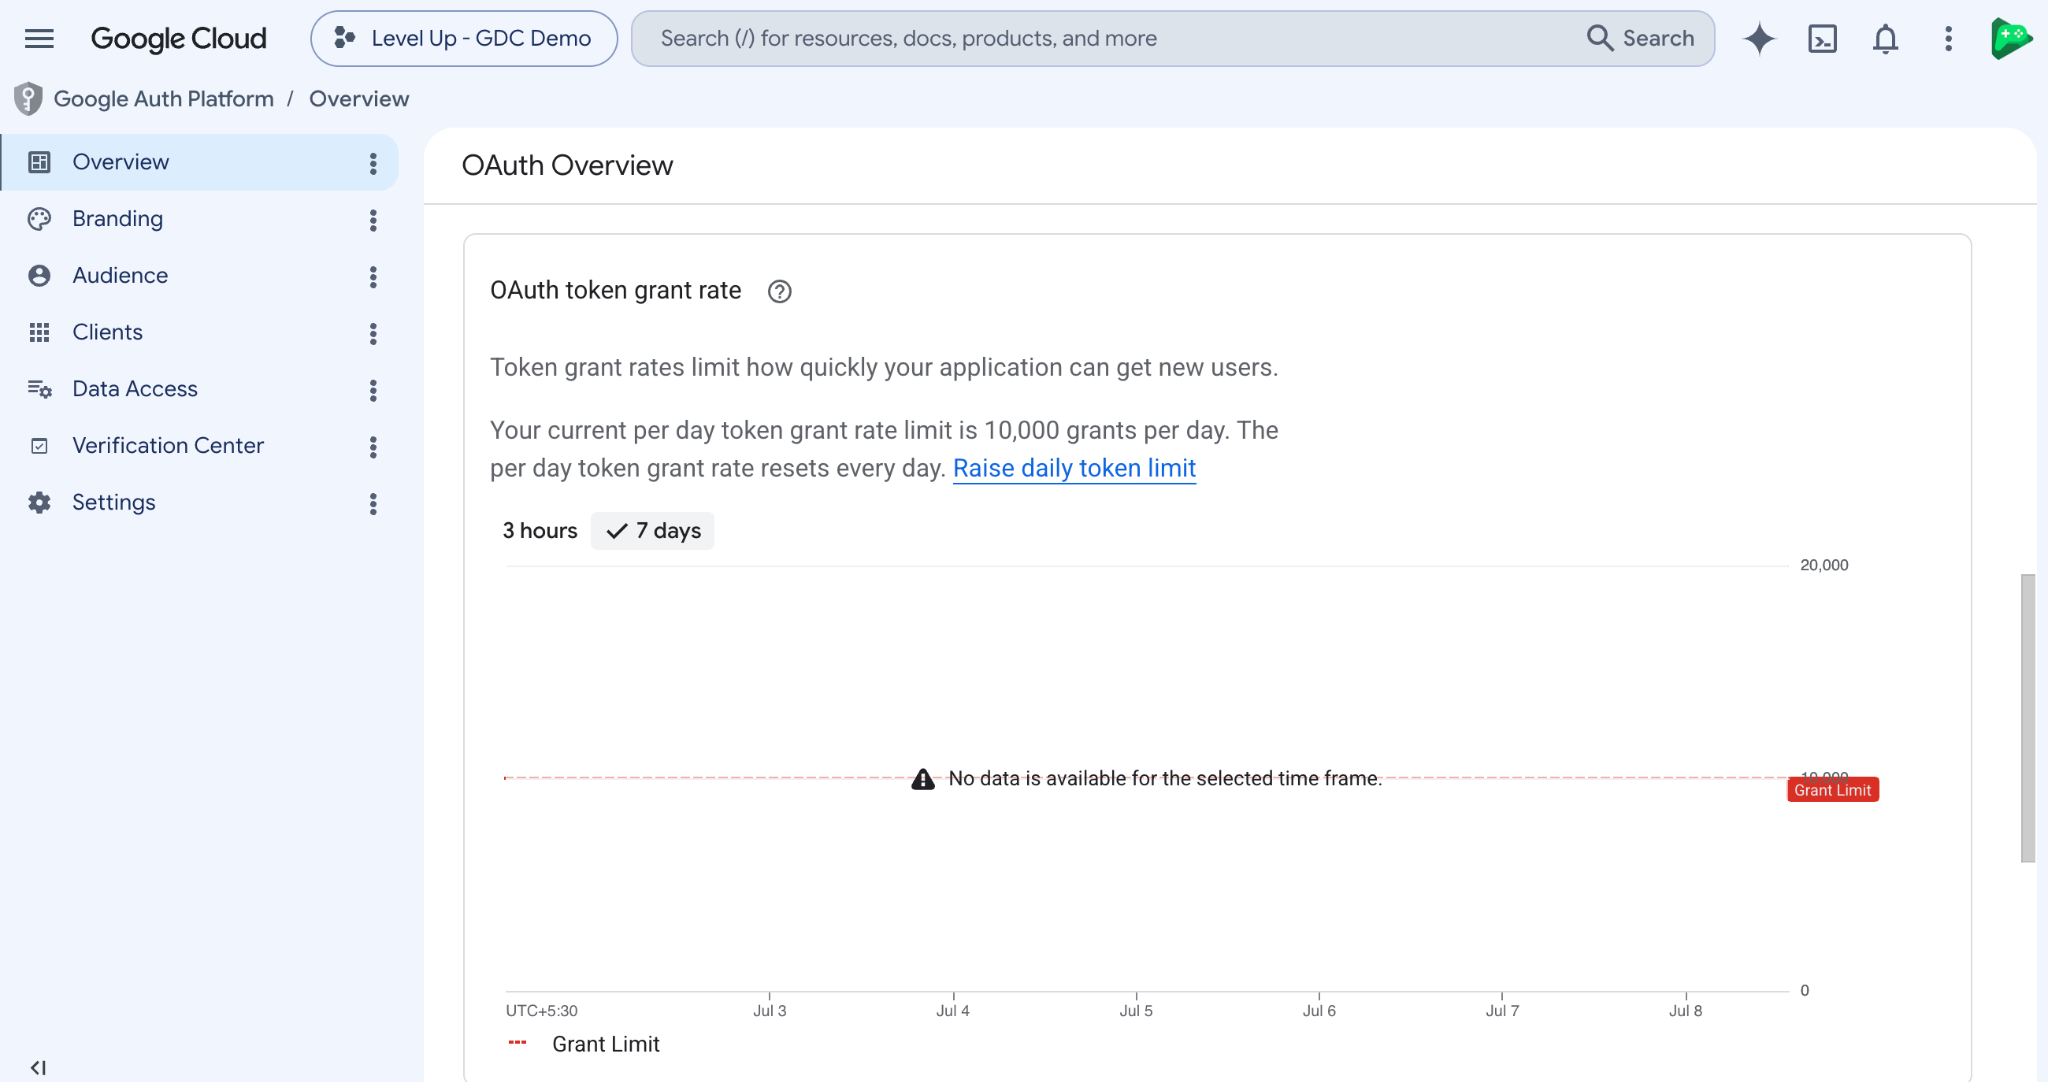
If you see that your game will reach the rate limit soon, you should take action to prevent any player disruption by requesting a rate limit quota increase.
For more information, see OAuth Application Rate Limits.
Activate other APIs
When you create your client ID in Play Console, the Google Play Games Services API is automatically turned on for your project. You can activate other Google APIs from Google Cloud.
To enable an API for your project, do the following:
Open the API Library in Google API Console. If prompted, select a project or create a new one. API Library lists all available APIs, grouped by product family and popularity.
If the API you want to enable isn't visible in the list, use search to find it.
Select the API you want to enable, then click the Enable button.
If prompted, enable billing.
If prompted, accept the API's terms of service.
Modify branding information
To modify the branding information (title, logo, etc.) for your game that appears in the OAuth 2.0 dialog, set the attributes in the consent screen of Google Cloud.
To set up your project's consent screen, do the following:
- Open the Consent Screen page in Play Console. If prompted, select a project or create a new one.
- Fill out the form and click Save.
Modify the OAuth user type
If you are testing in the Production (Test and release > Production) testing track using a personal testing account, you must have also configured your OAuth audience setting in Google Cloud as External. For more information, see Manage App audience.
Modify client ID related attributes
To modify attributes related to your OAuth 2.0 client ID (web origins and redirect URLs for a web app, etc.):
- Open Play Console and navigate to your game.
- Select a credential for your game on the Configuration page (Grow users > Play Games Services > Setup and management > Configuration).
- Scroll to the bottom of the Authentication section and click View in Google Cloud.
- In Google Cloud, select your project.
- In the sidebar on the left, select APIs & auth. Make sure that the Google Play Games Services API status is ON in the displayed list of APIs.
- In the sidebar on the left, select Registered apps.
- Expand the OAuth 2.0 Client ID section and find the attribute to edit.
Migrate OAuth clients from an existing Cloud project
To view your project in Google Cloud, follow the steps in View your project.
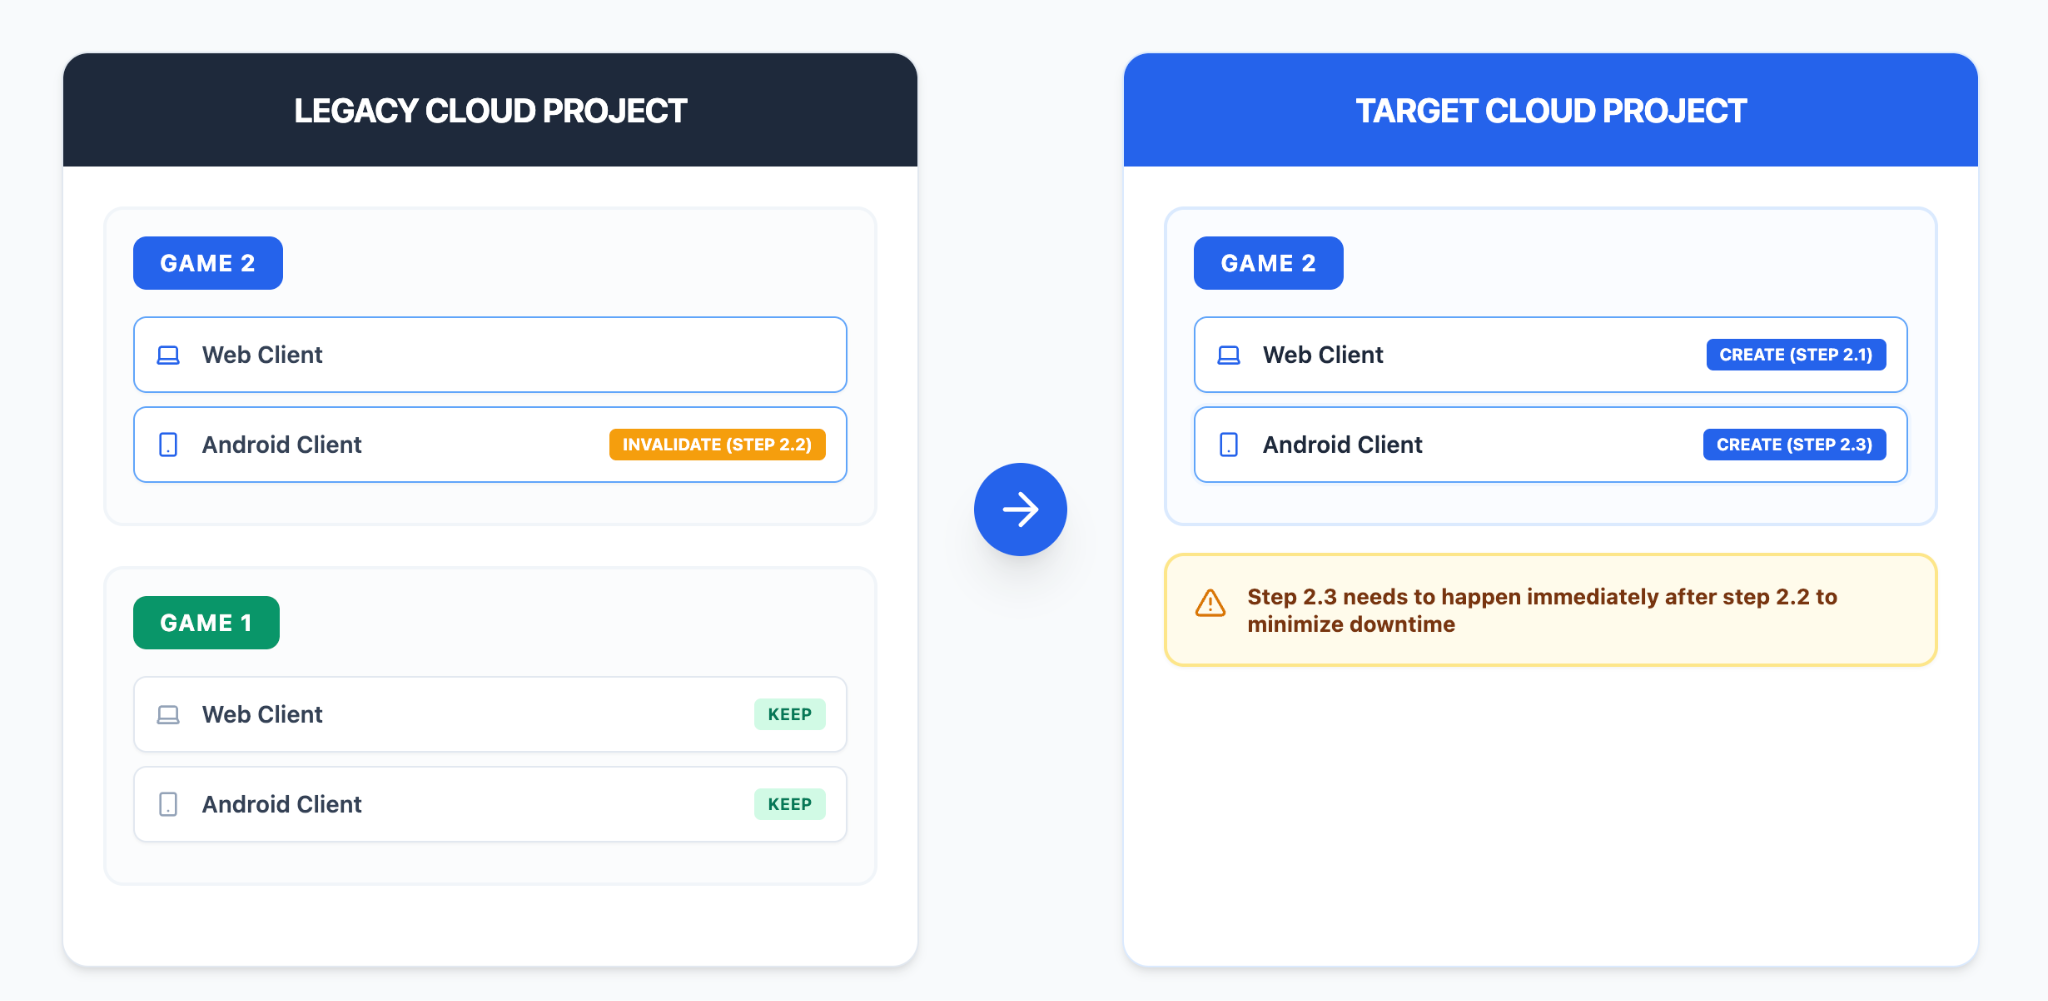
For setting up Play Games Services (PGS), a unique Google Cloud project is required. If multiple games share one Cloud project, you must migrate their Android OAuth clients to independent projects to ensure proper configuration.
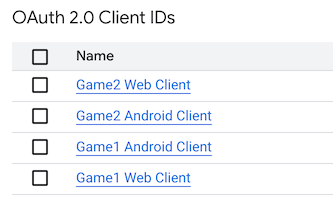
In the preceding example, Game 1 and Game 2 have created their web and Android clients within a single Google Cloud project for Sign-in with Google. We need to move Game 2's web and Android clients from the current legacy Google Cloud project to a new target Google Cloud project.
Step 1: Backend preparation
Before performing the switch, you must adapt your backend and clients to handle the simultaneous existence of both old and new Web client IDs.
- Server-side configuration: If your server validates the web client ID within the ID token, you will need to update your server-side logic to simultaneously support ID tokens issued by both the old clients in the Legacy Cloud Project and the new clients you need to generate in the Target Cloud Project.
- Client-side configuration: Your client application needs to support
multiple Web Client IDs to sign in using the new Web Client ID when
switching. You can use any of the following methods:
- Built-in 2 Web Client IDs in the client app, switching to the new Web Client ID when the old client ID expires
- Dynamically obtain the latest Web Client ID from the server to complete the switch
- Pre-create Web clients: In your target project, you need to create a new Web client in advance to avoid potential delays during the atomic switch.
Step 2: Configure new web and Android OAuth clients in the correct Google Cloud
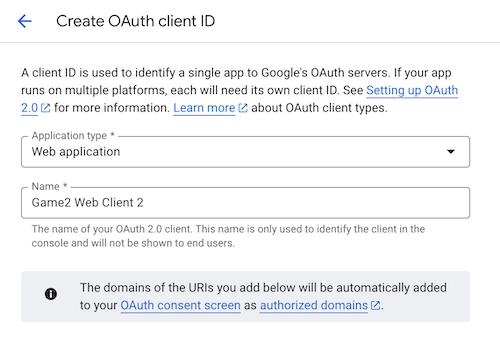
Step 2.1: Create a new web OAuth client for Game 2 in the target Google Cloud project:

Step 2.2: Warning: Modifying the Android client will prevent your game's users from signing into your game using Sign-in with Google, so you must ensure that you perform Step 2.3 immediately after Step 2.2. It is recommended to open 2 web pages simultaneously for the operations to minimize the time interval between modification and recreation.
Change the package name of Game 2's Android client in the legacy Google
Cloud project to an invalid value, such as com.noexist.none.

Step 2.3: Immediately create a new Android client for Game 2 with the same Game 2's SHA-1 fingerprint and package name in the target Google Cloud project:
Step 3: Real-time configuration deployment
After successfully creating the new Android client in the target project, immediately perform the following:
- Redirect clients: Use your dynamic configuration mechanism (such as Remote Config) to immediately switch the client application so that it begins using the new Web client ID.
- Keep the old clients: Retain the old OAuth clients as a fallback option to roll back to the previous OAuth client sign-in if any issues arise.